
Proof, not promises
Before and after, on real roofs
Every photo on this page is a First Rate Chimney job from around the greater Portland metro: moss, cracks, and water damage on one side, fresh brick and clean crowns on the other. Drag the sliders to compare.
Every job, photographed
Before a single brick comes down, the crew photographs what is actually up there: the cracked crown, the moss in the mortar, the flashing that has been rusting since the last ice storm. You see what we see before you approve anything.
During the job we photograph the work as it goes: new mortar lines, fresh flashing, the cap going on square. And when it is done, you get the after photos to keep, so the condition of your chimney is never a matter of trust. It is on the record.
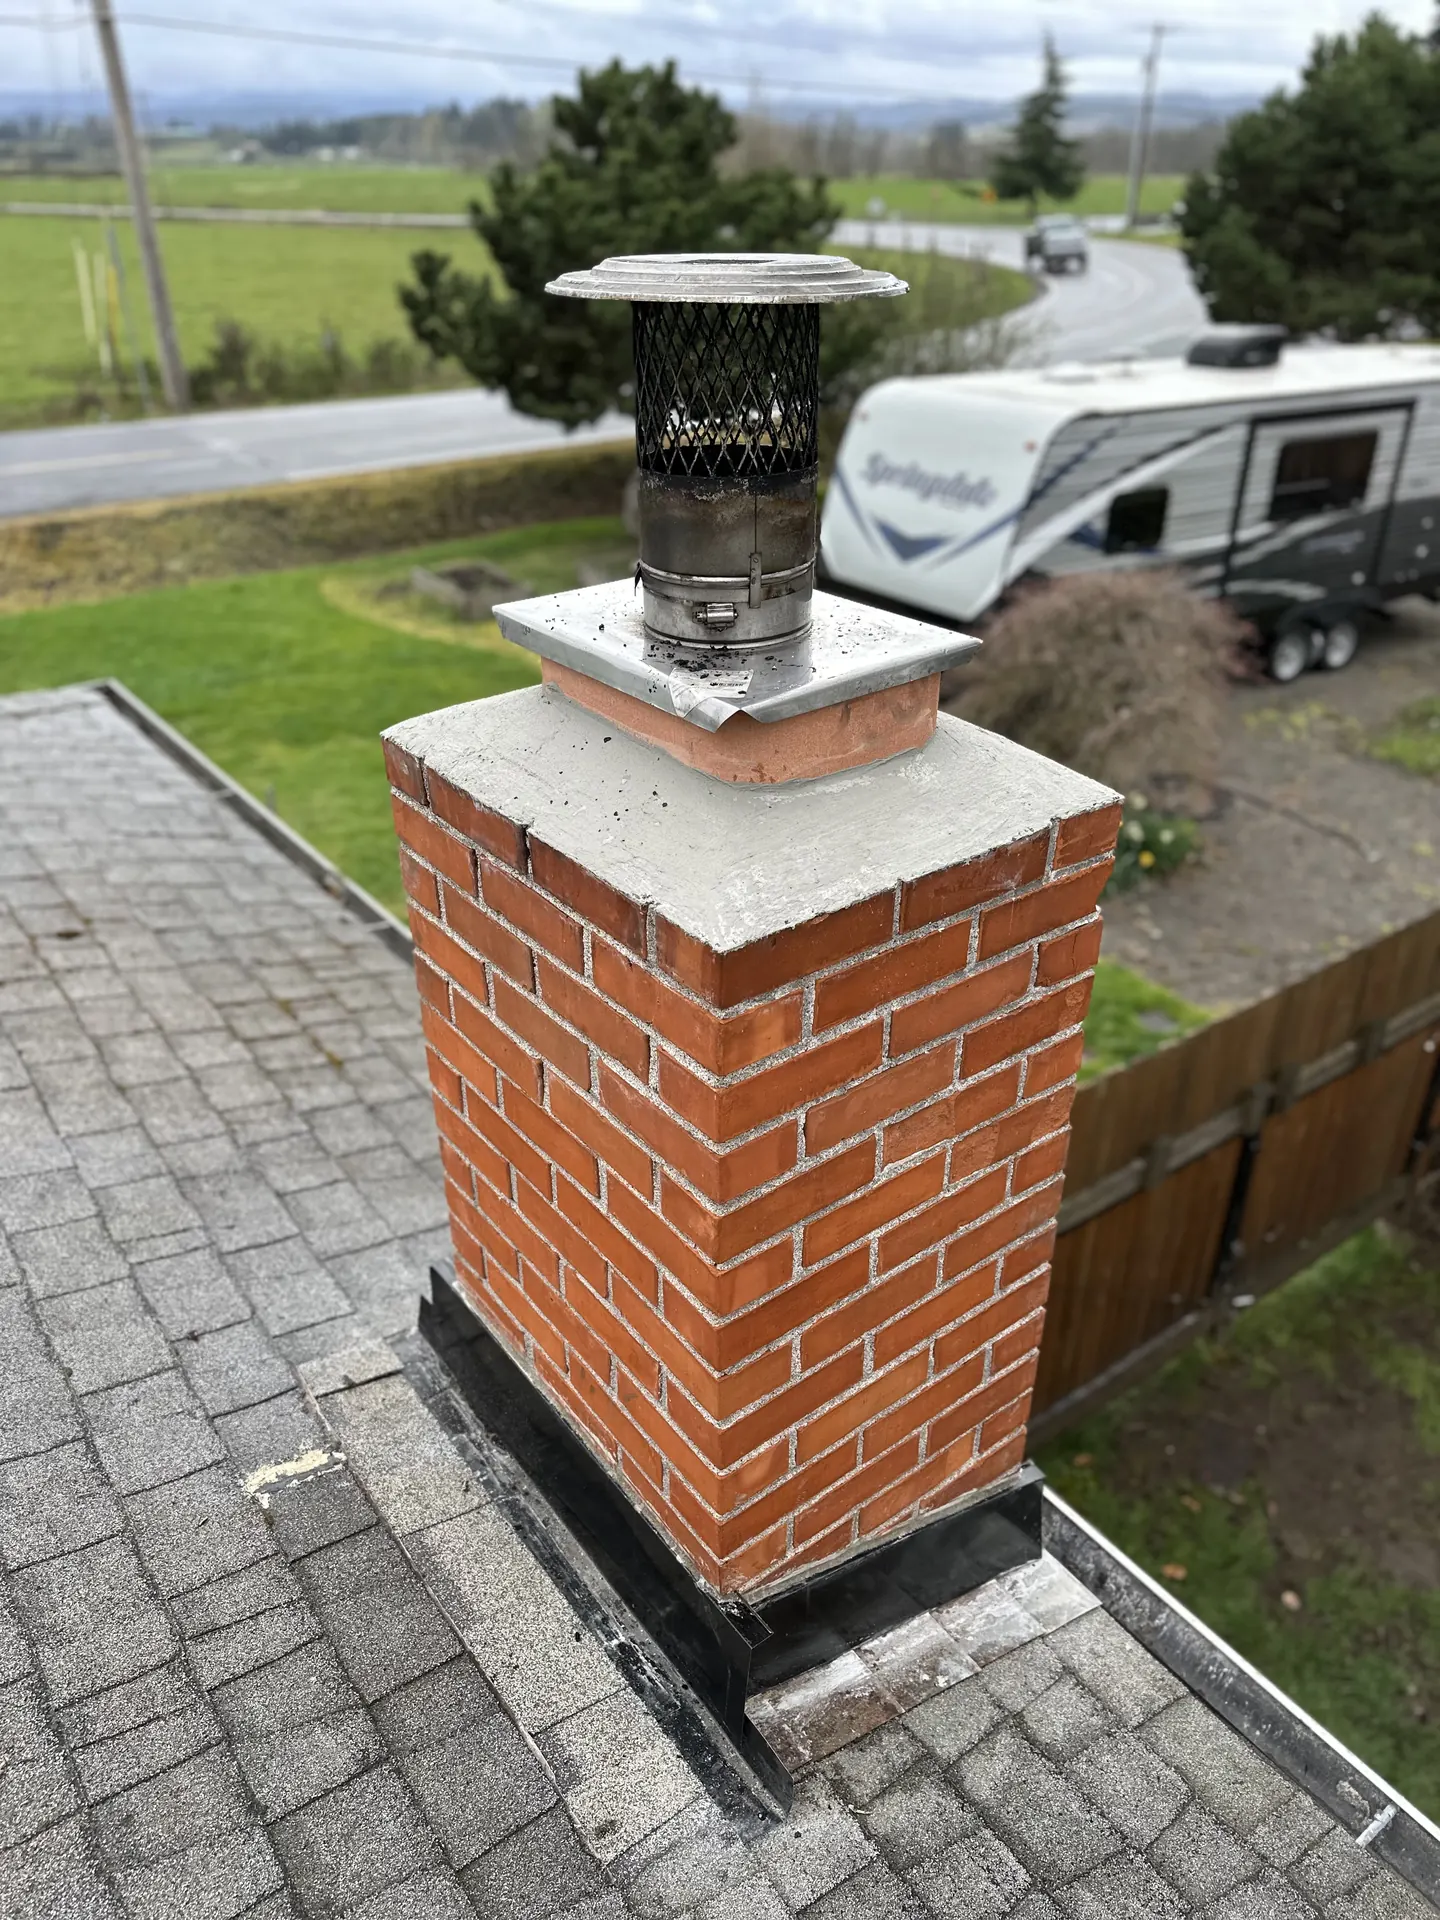
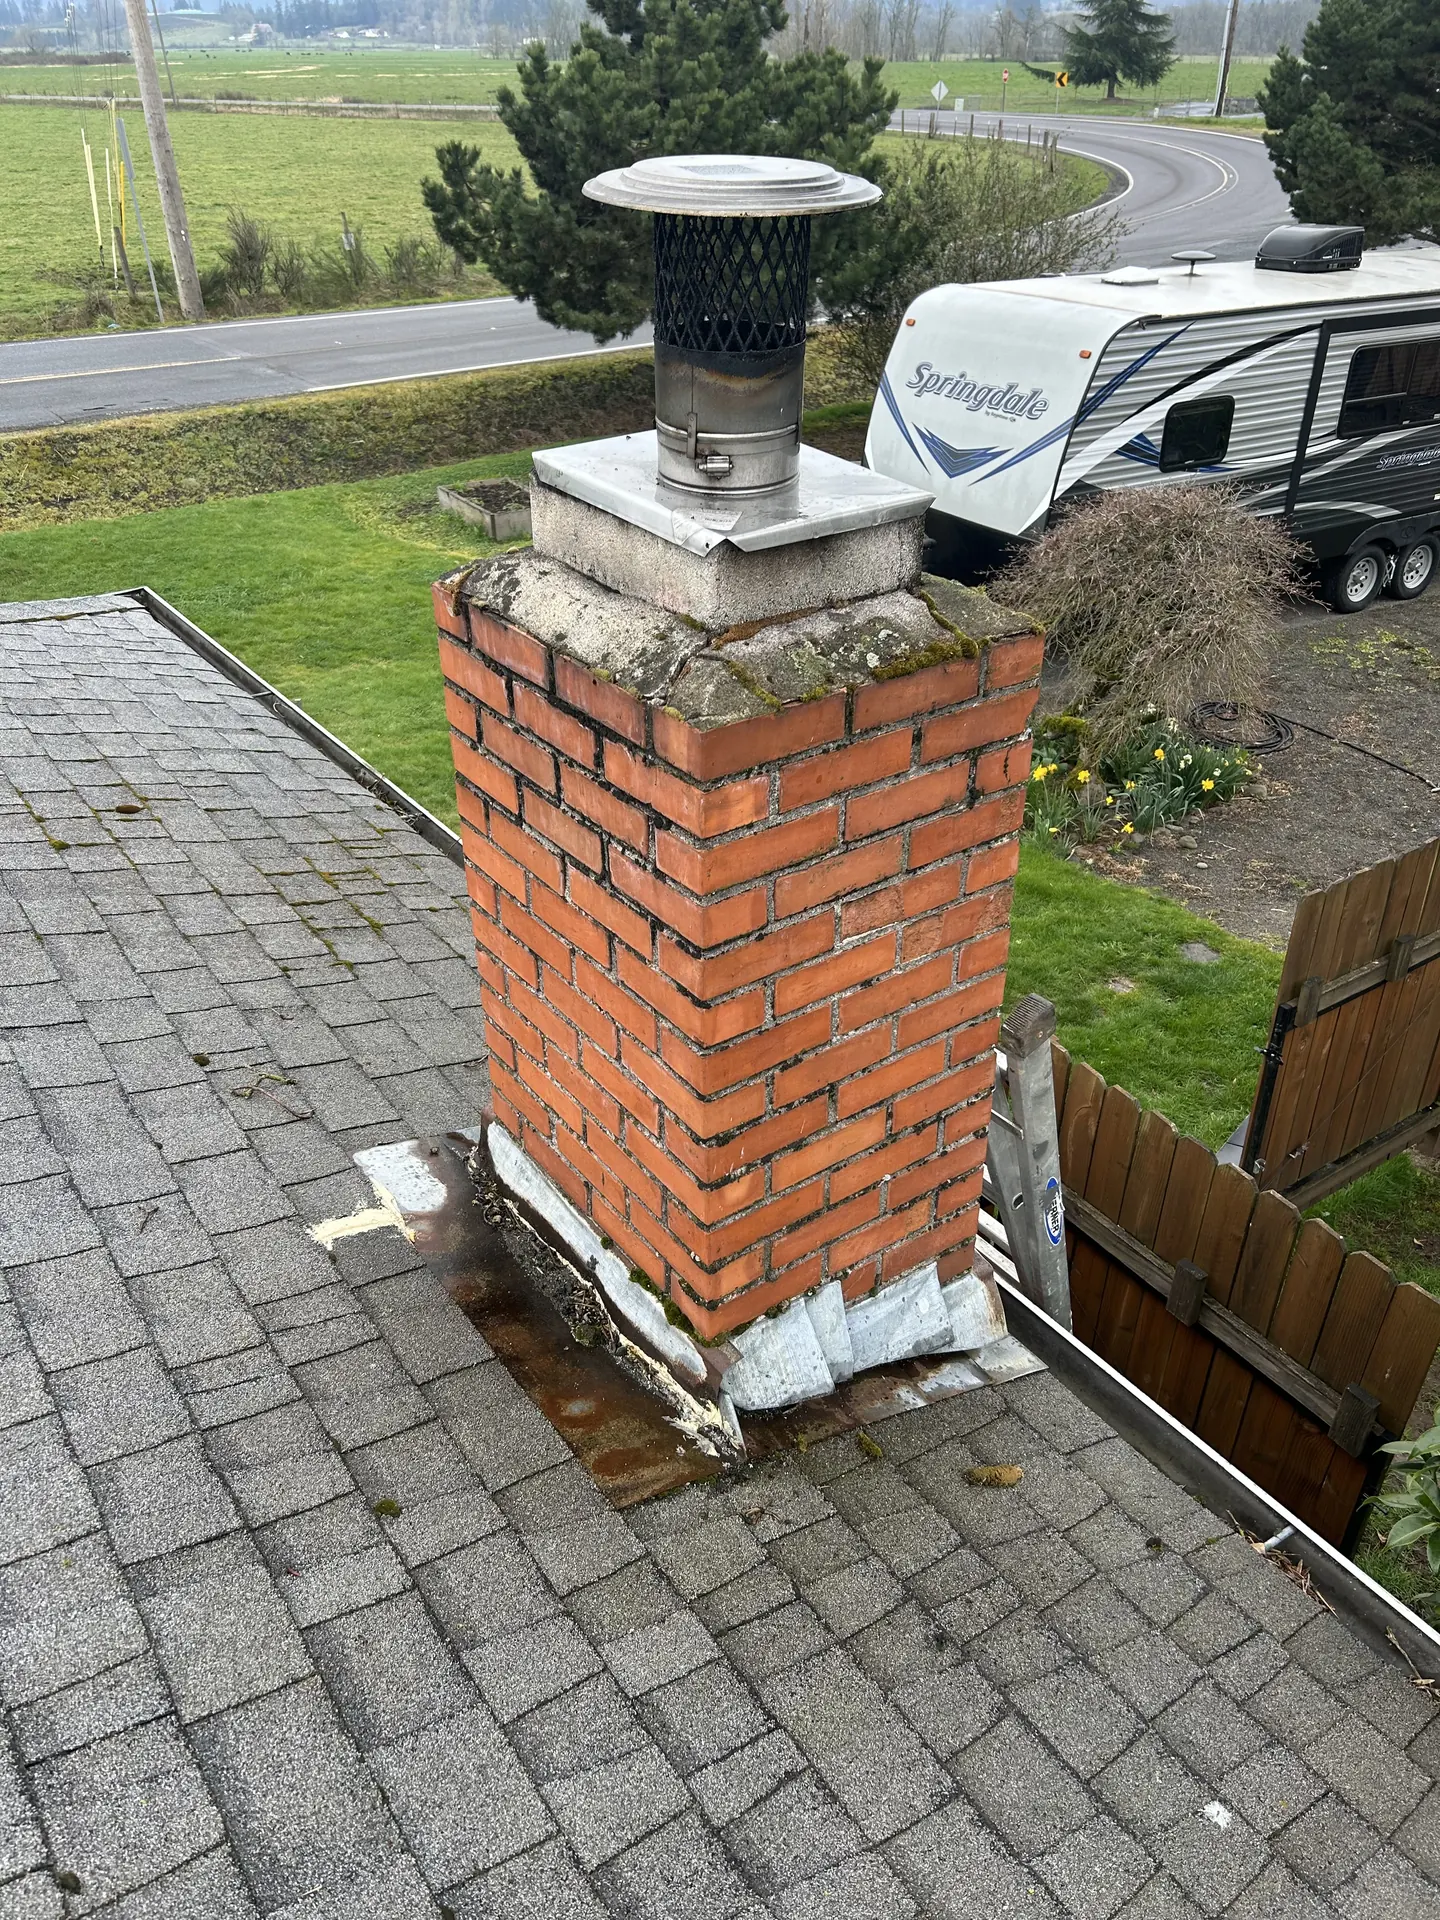 BeforeTuckpointed
Tuckpointing: fresh joints, repaired crown, new flashing
Tuckpointing grinds out every failed mortar joint and repacks it with fresh mortar matched to the brick, then the crown gets repaired and the step flashing woven back into the shingles. This is the most common save we make after a wet winter.
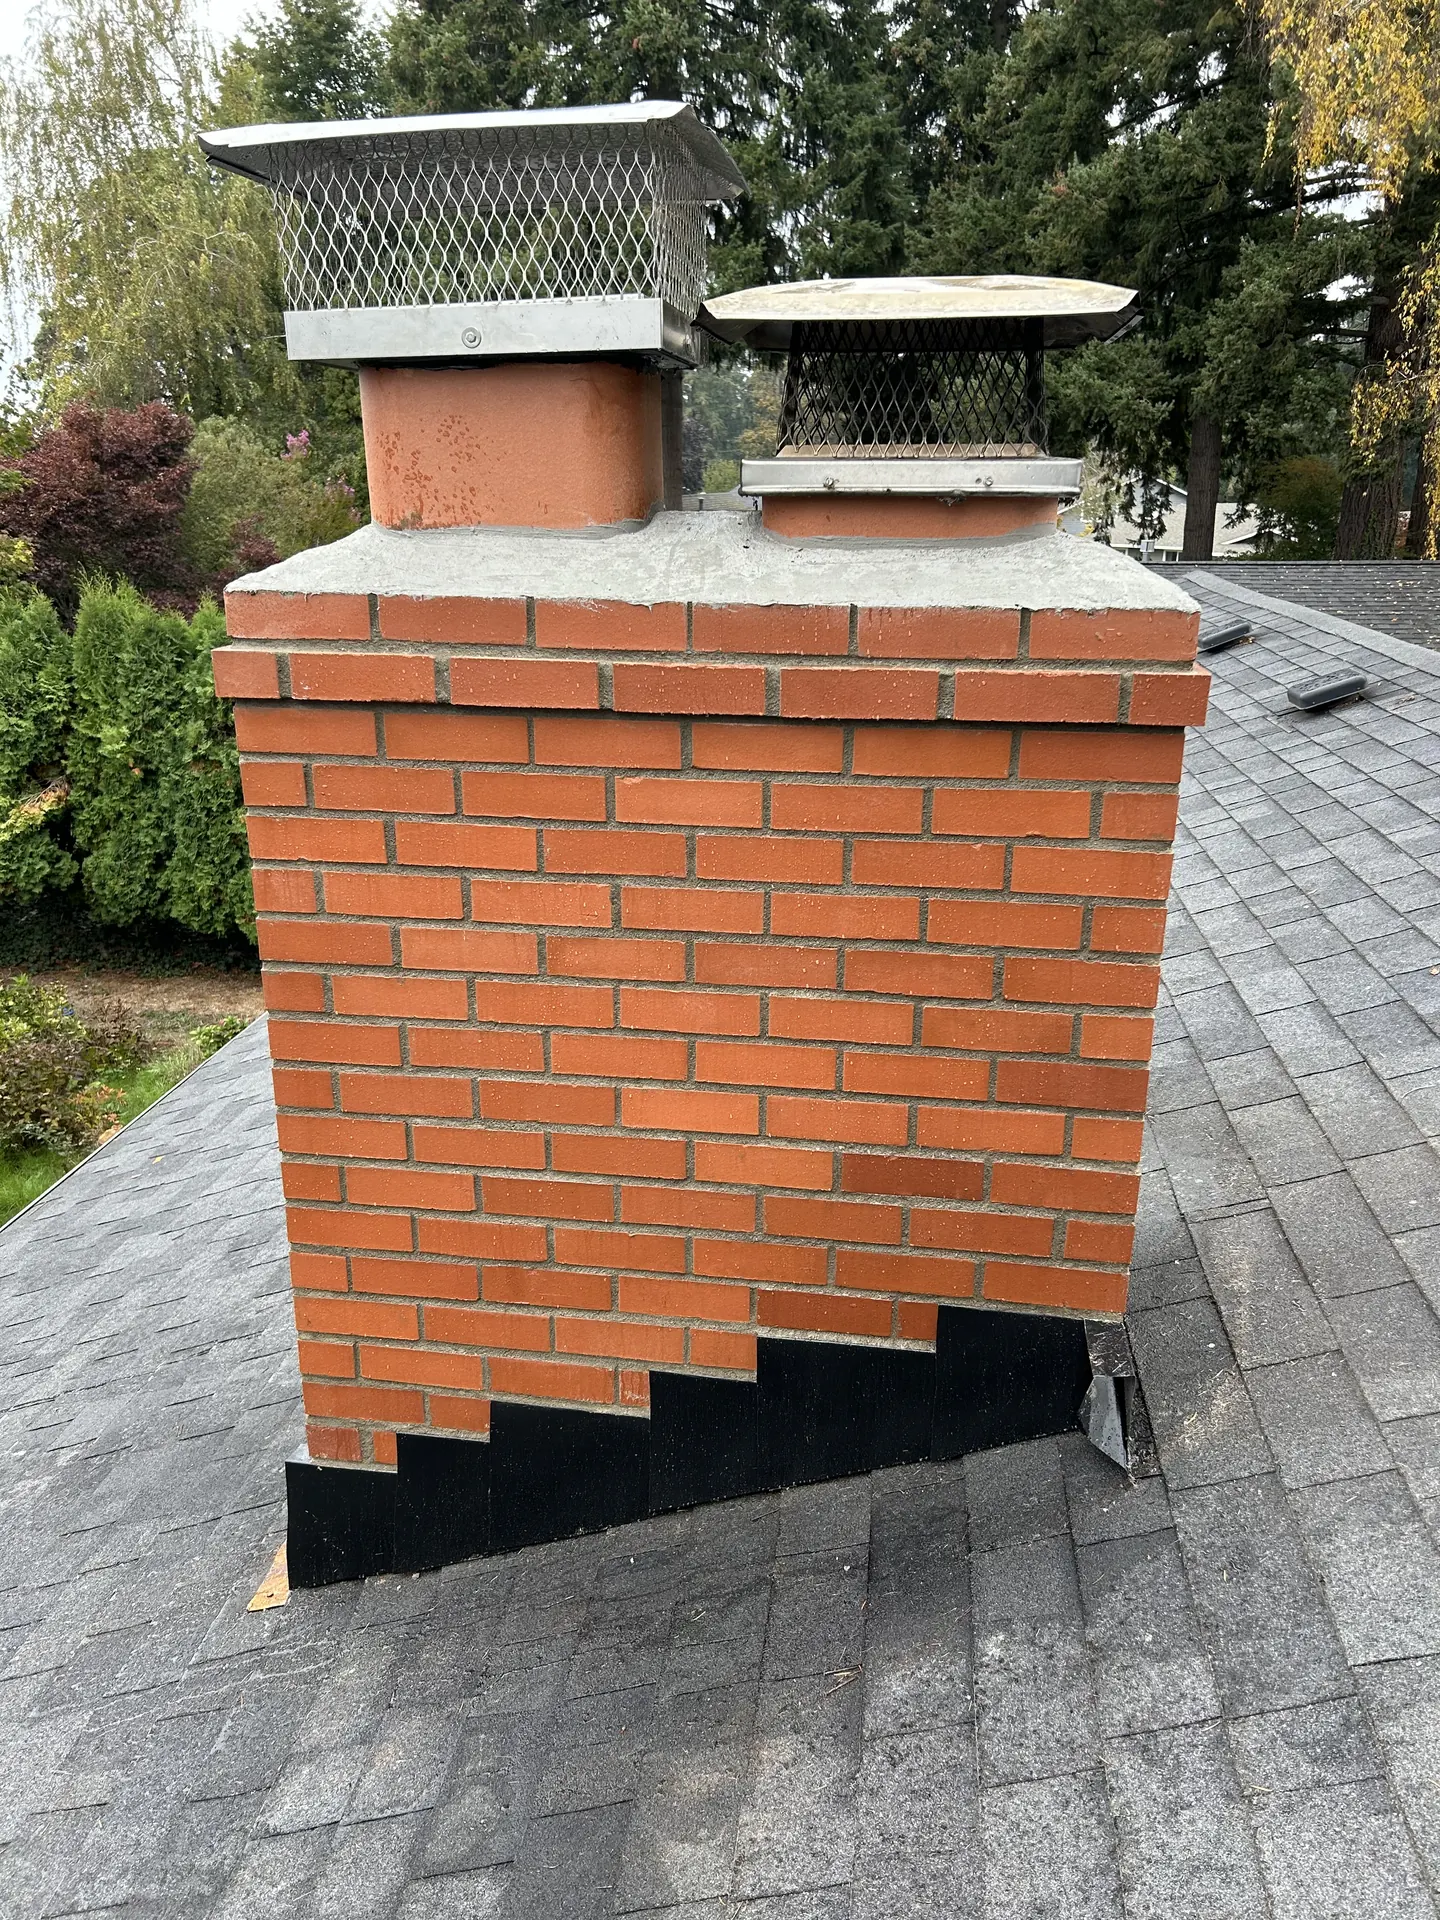
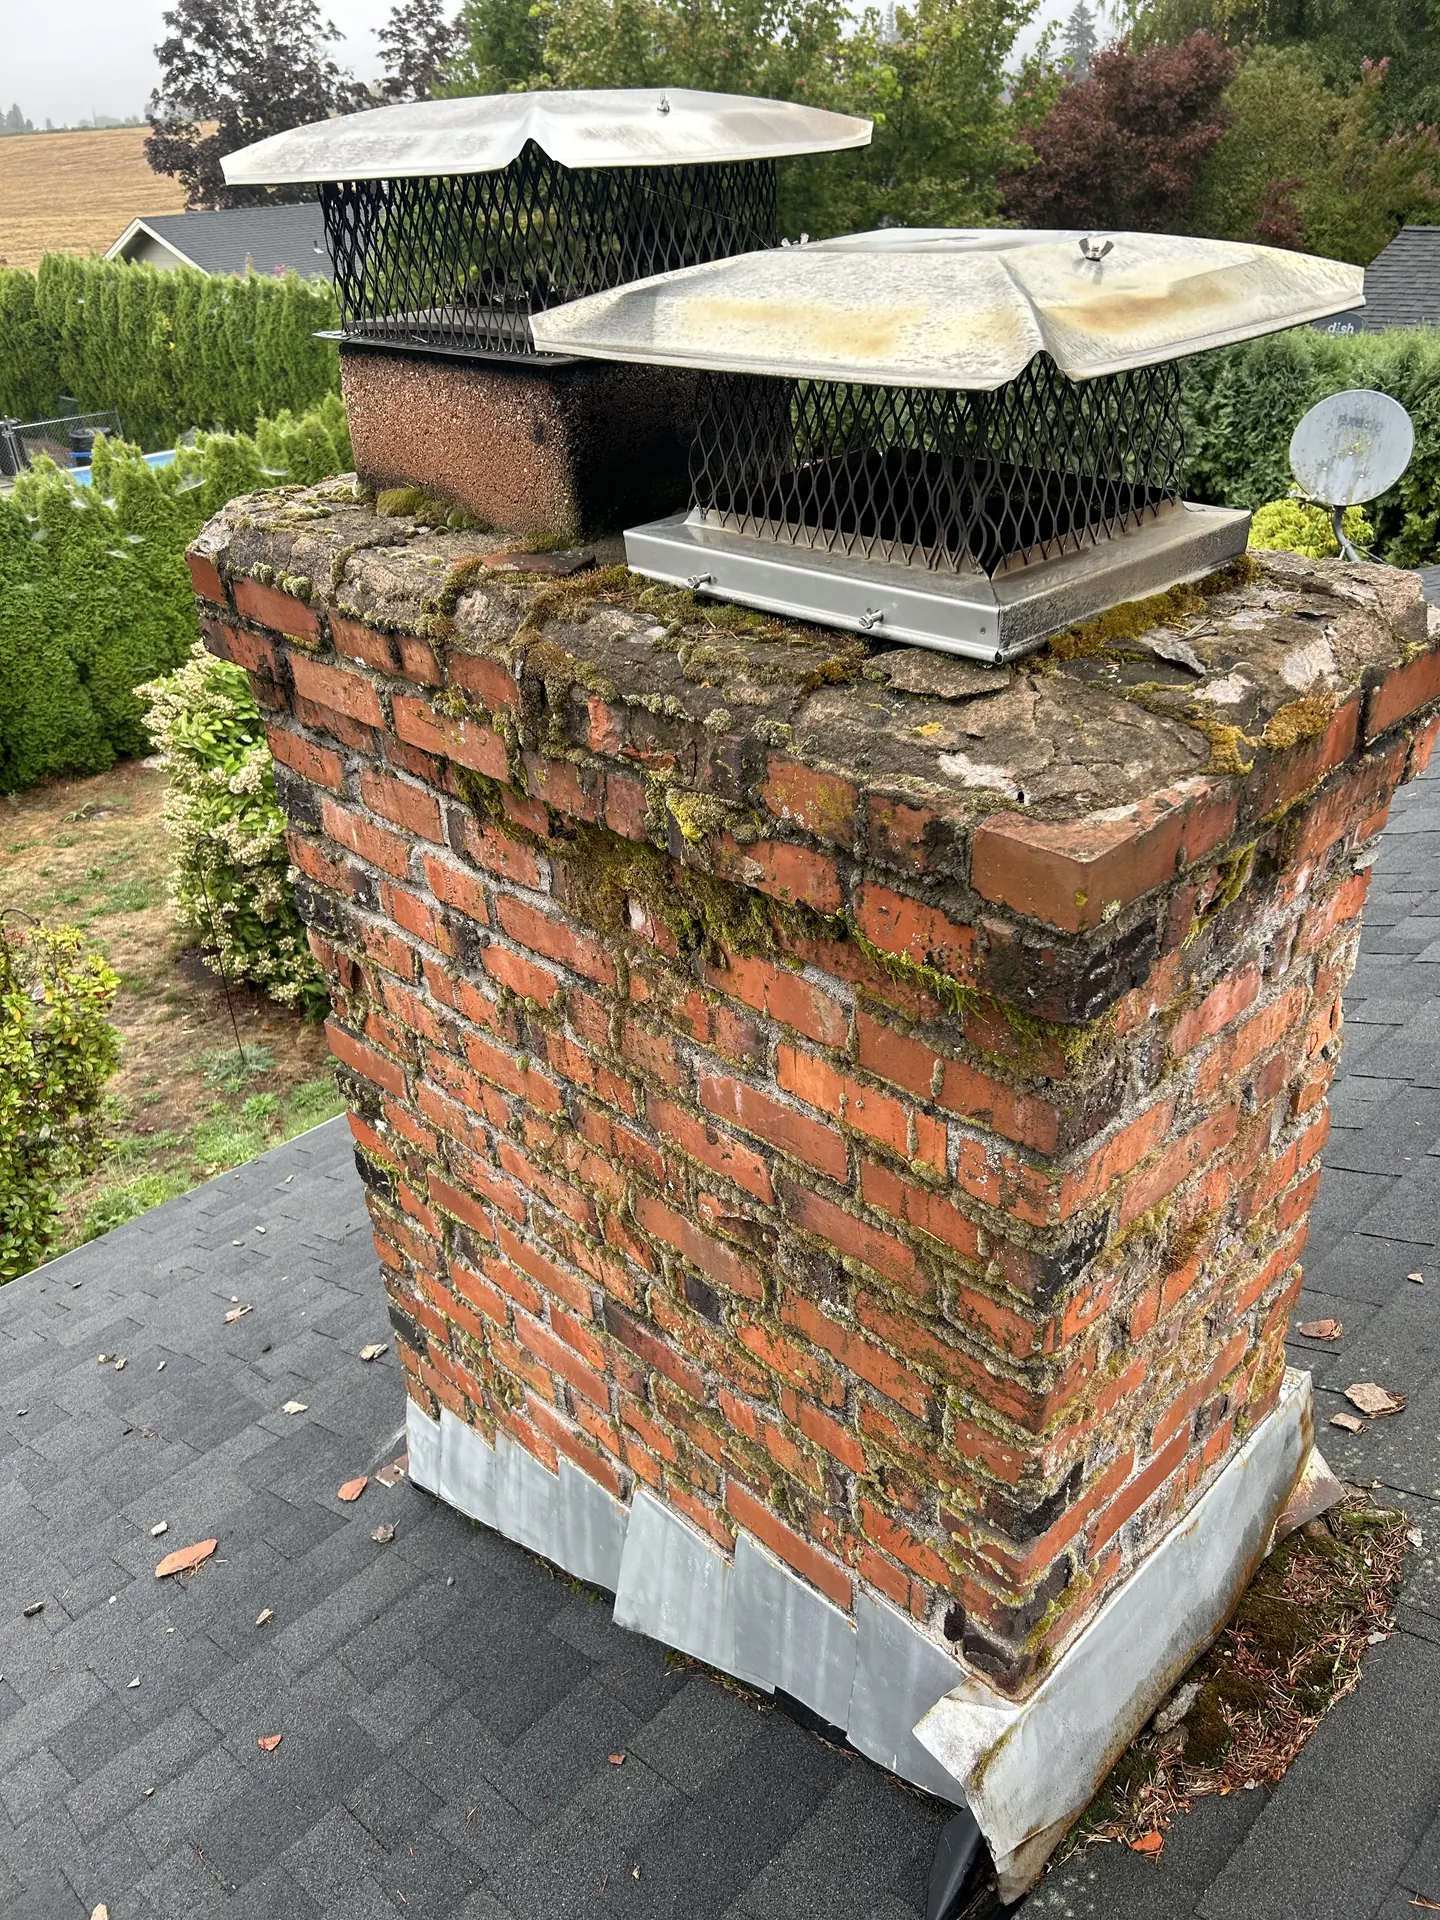 BeforeRebuilt
Crown and flashing rebuild, caps reset
This crown had been absorbing water for years: moss in every joint, flashing rusted through at the corners. The crew ground out the damage, poured a new crown with a proper drip edge, resealed the flashing, and reset both factory caps.
 BeforeRebuilt
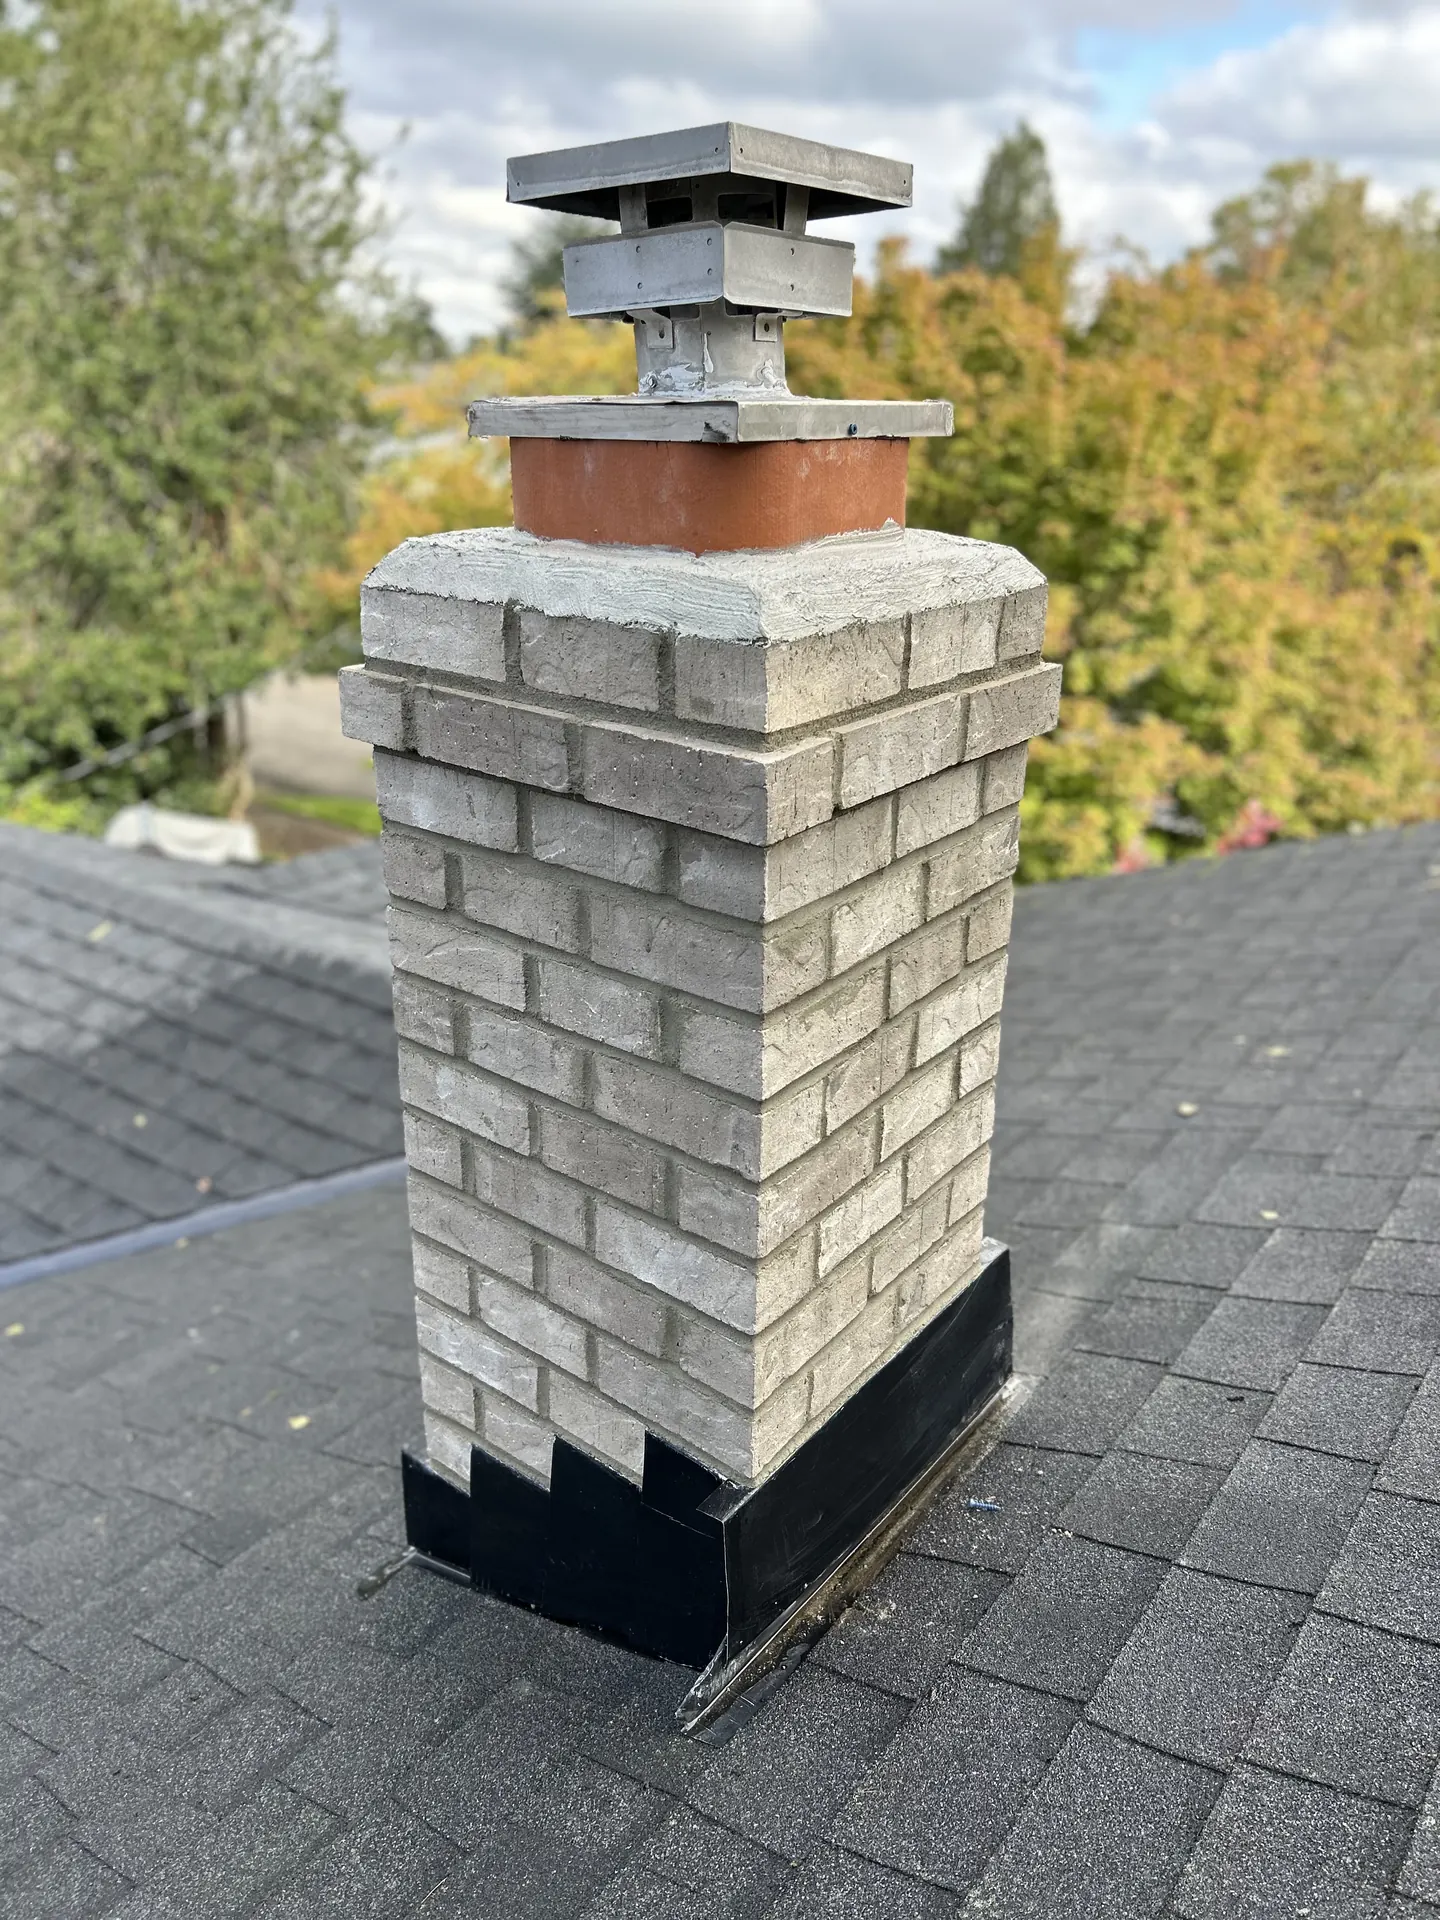
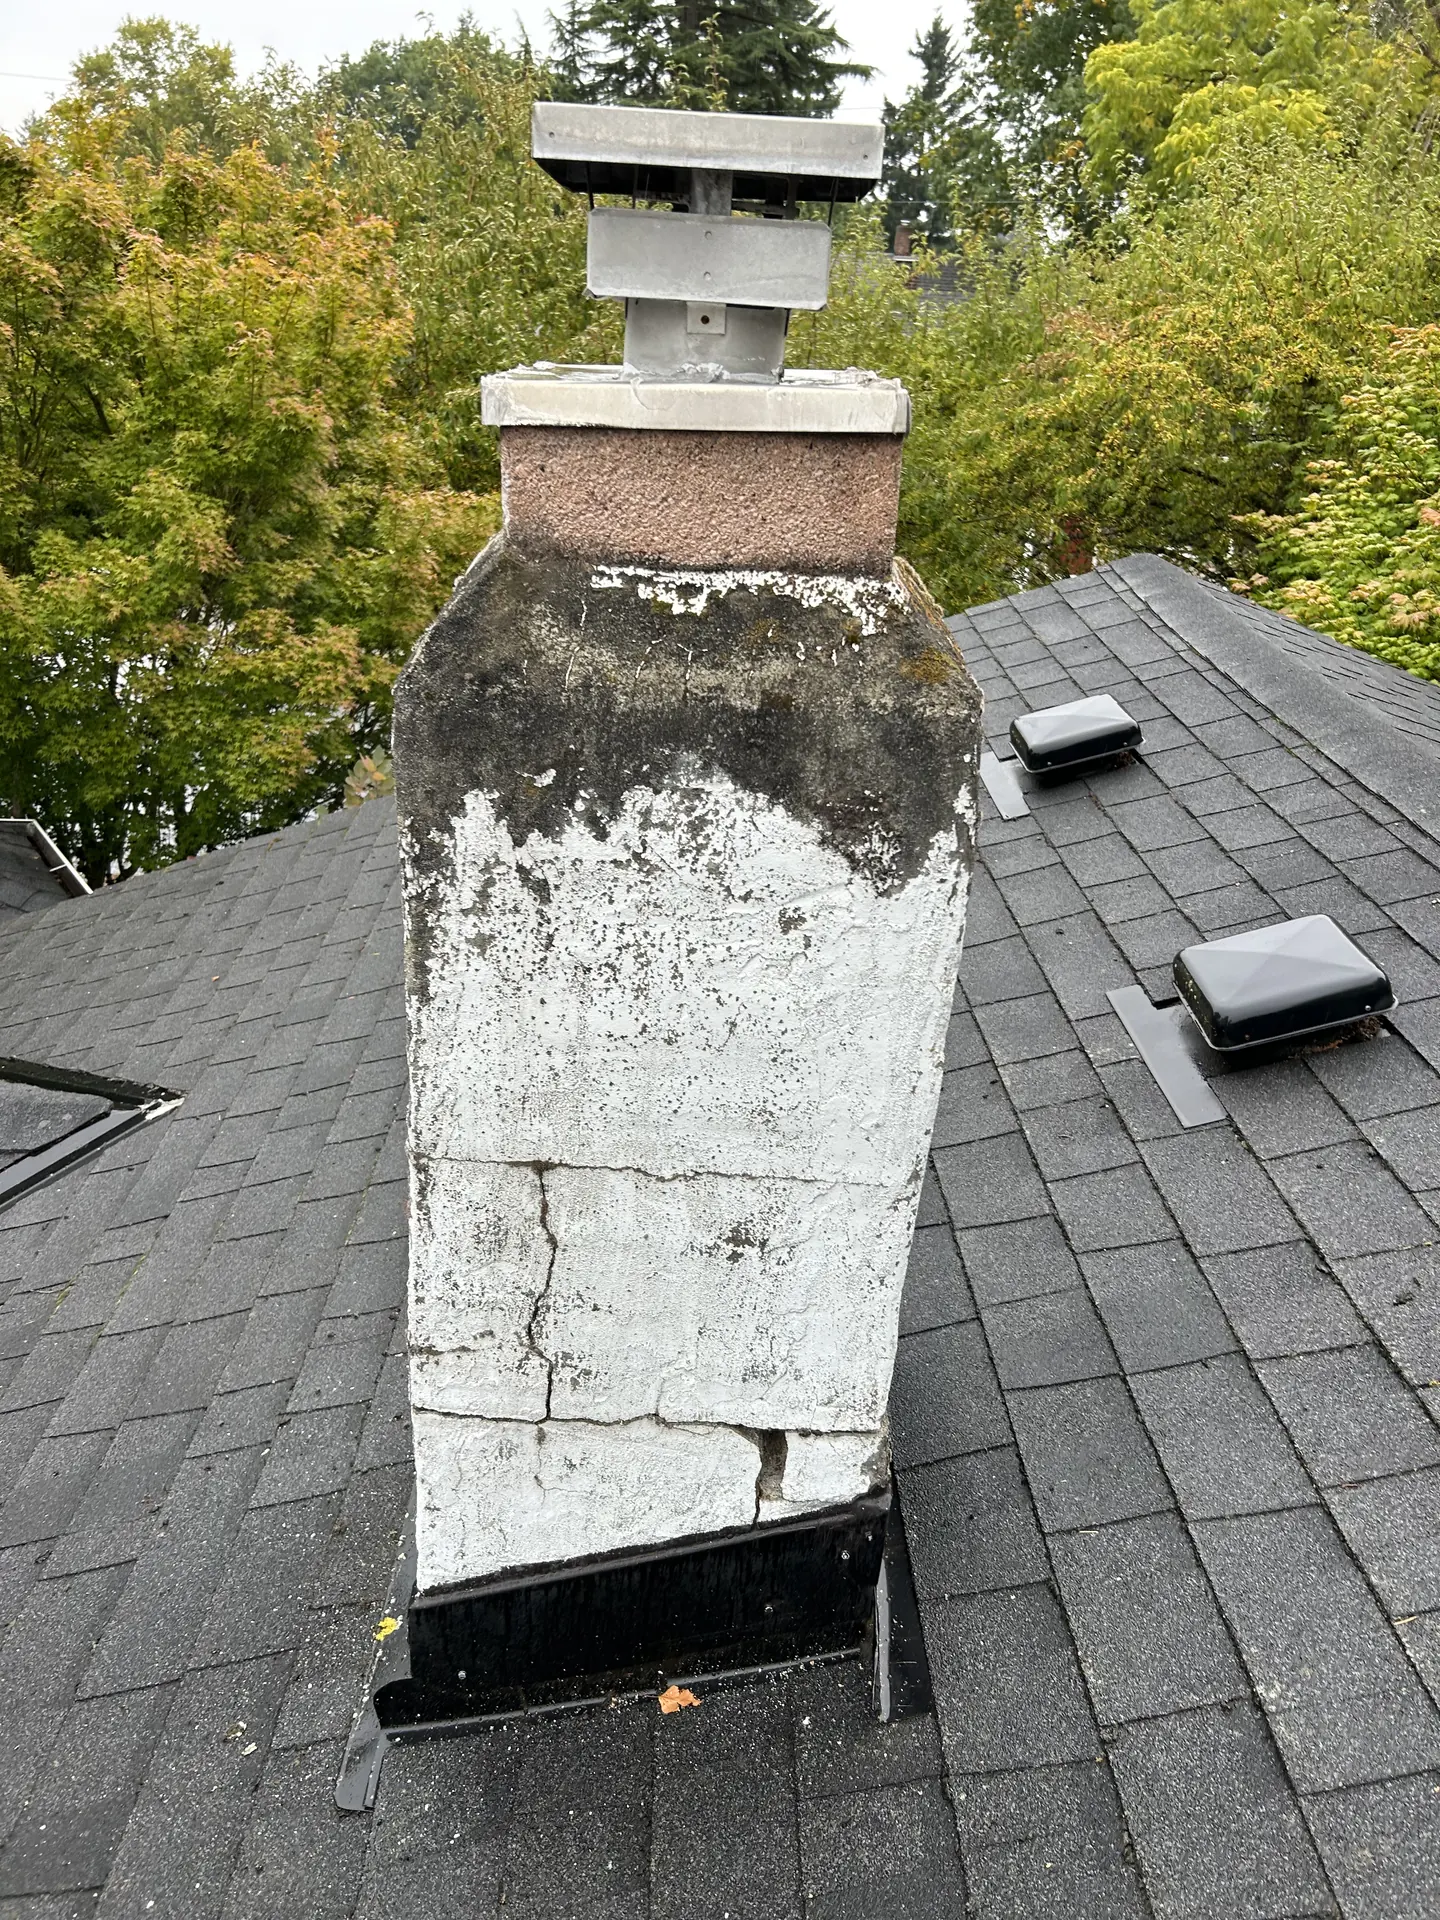
Full rebuild in gray brick, new crown
White paint was hiding decades of cracking. The crew tore the chimney down past the damage and rebuilt it in gray brick with a new crown and cap, matched to the roofline. Painted masonry hides problems; fresh brick does not.
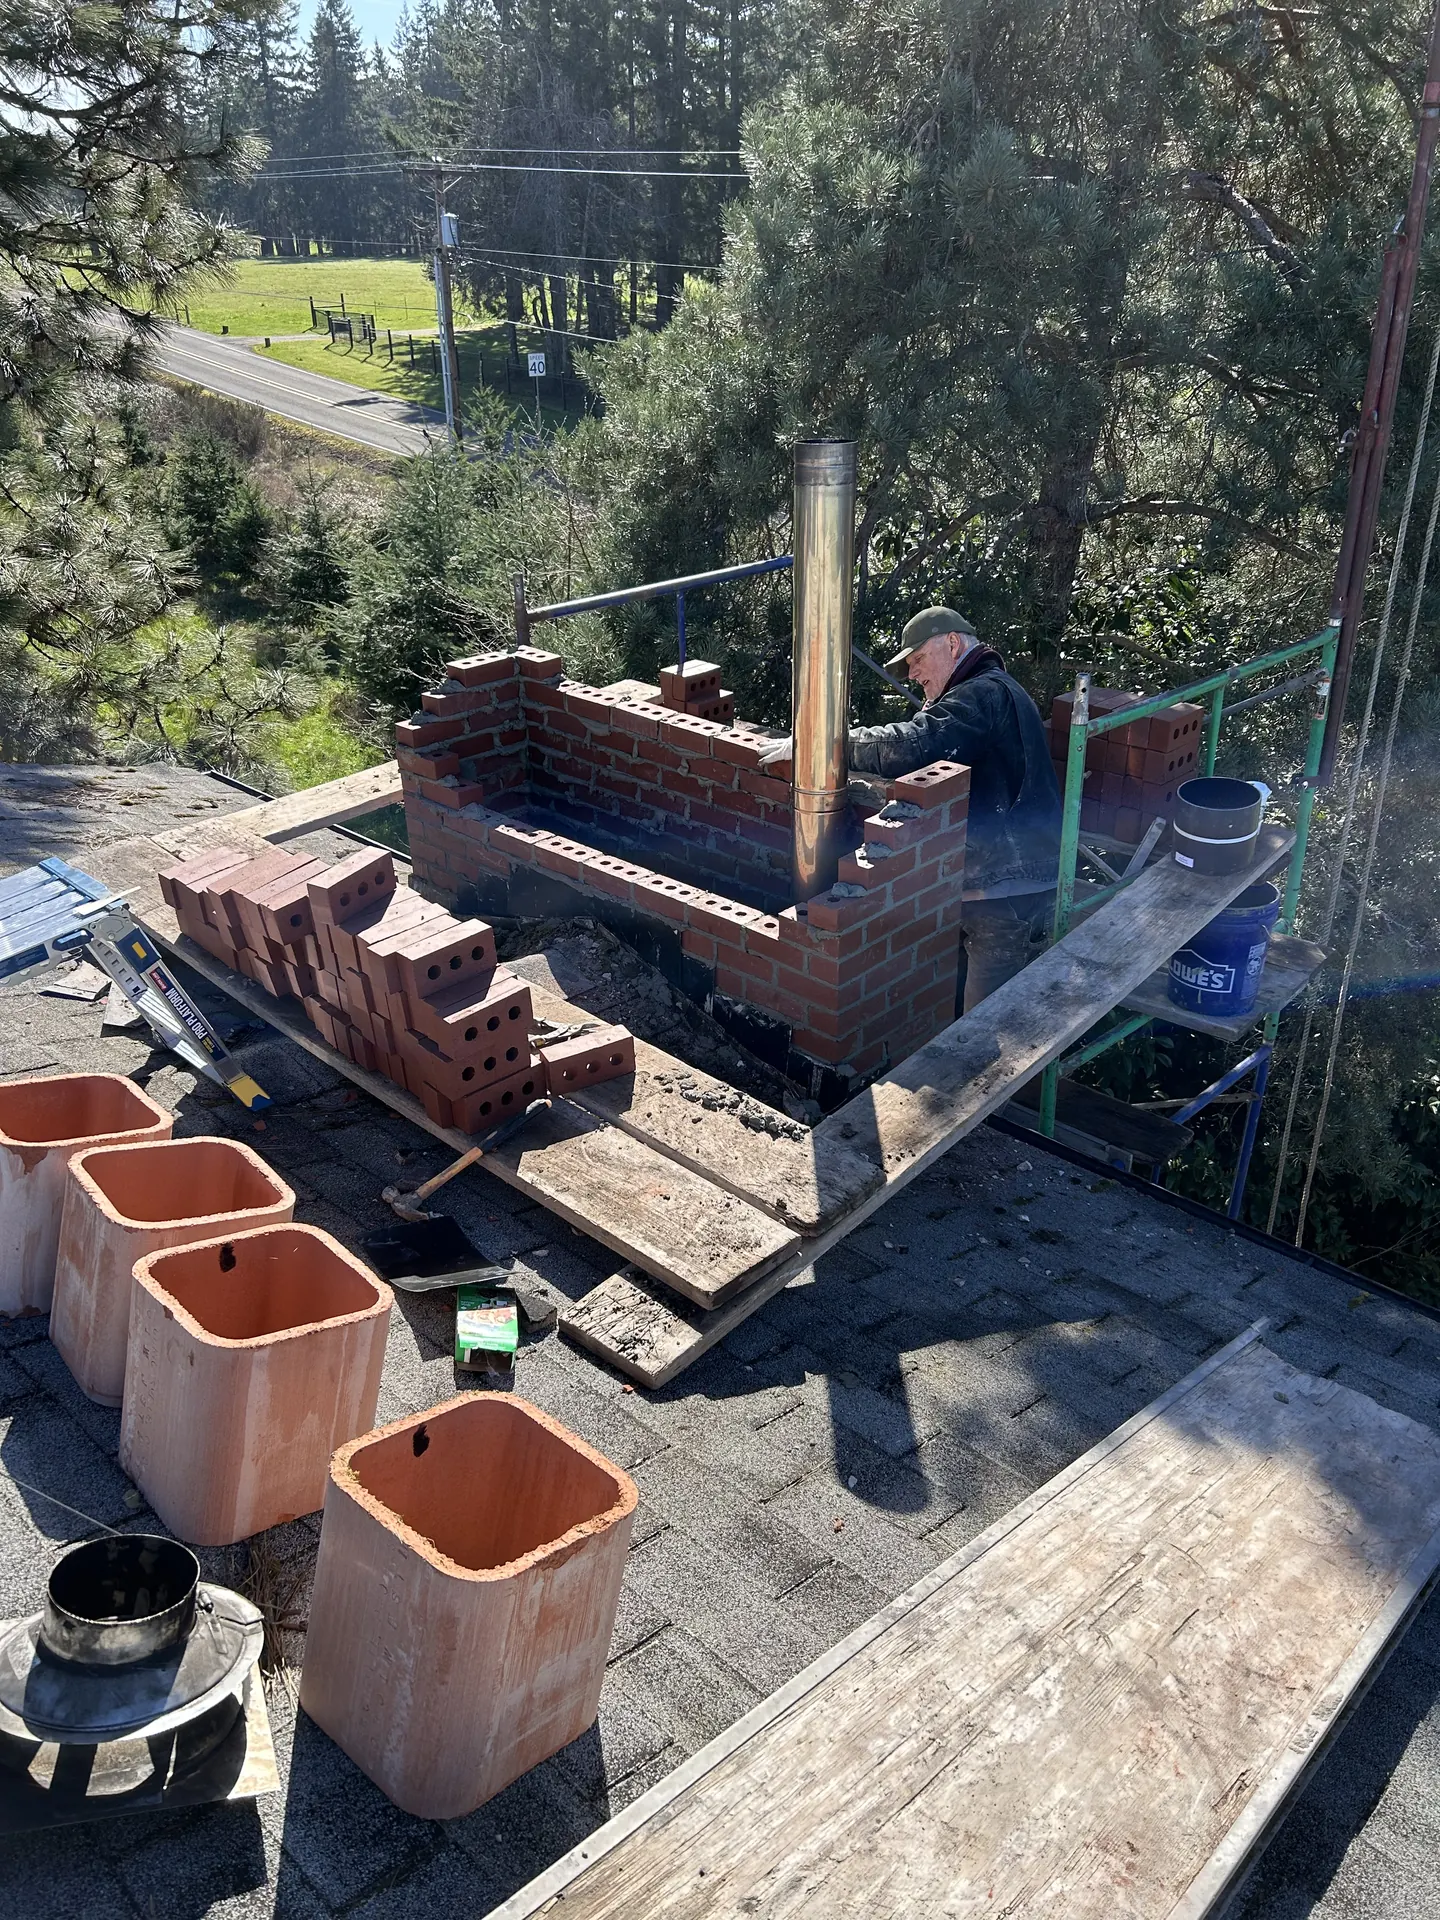
Rebuild in progress
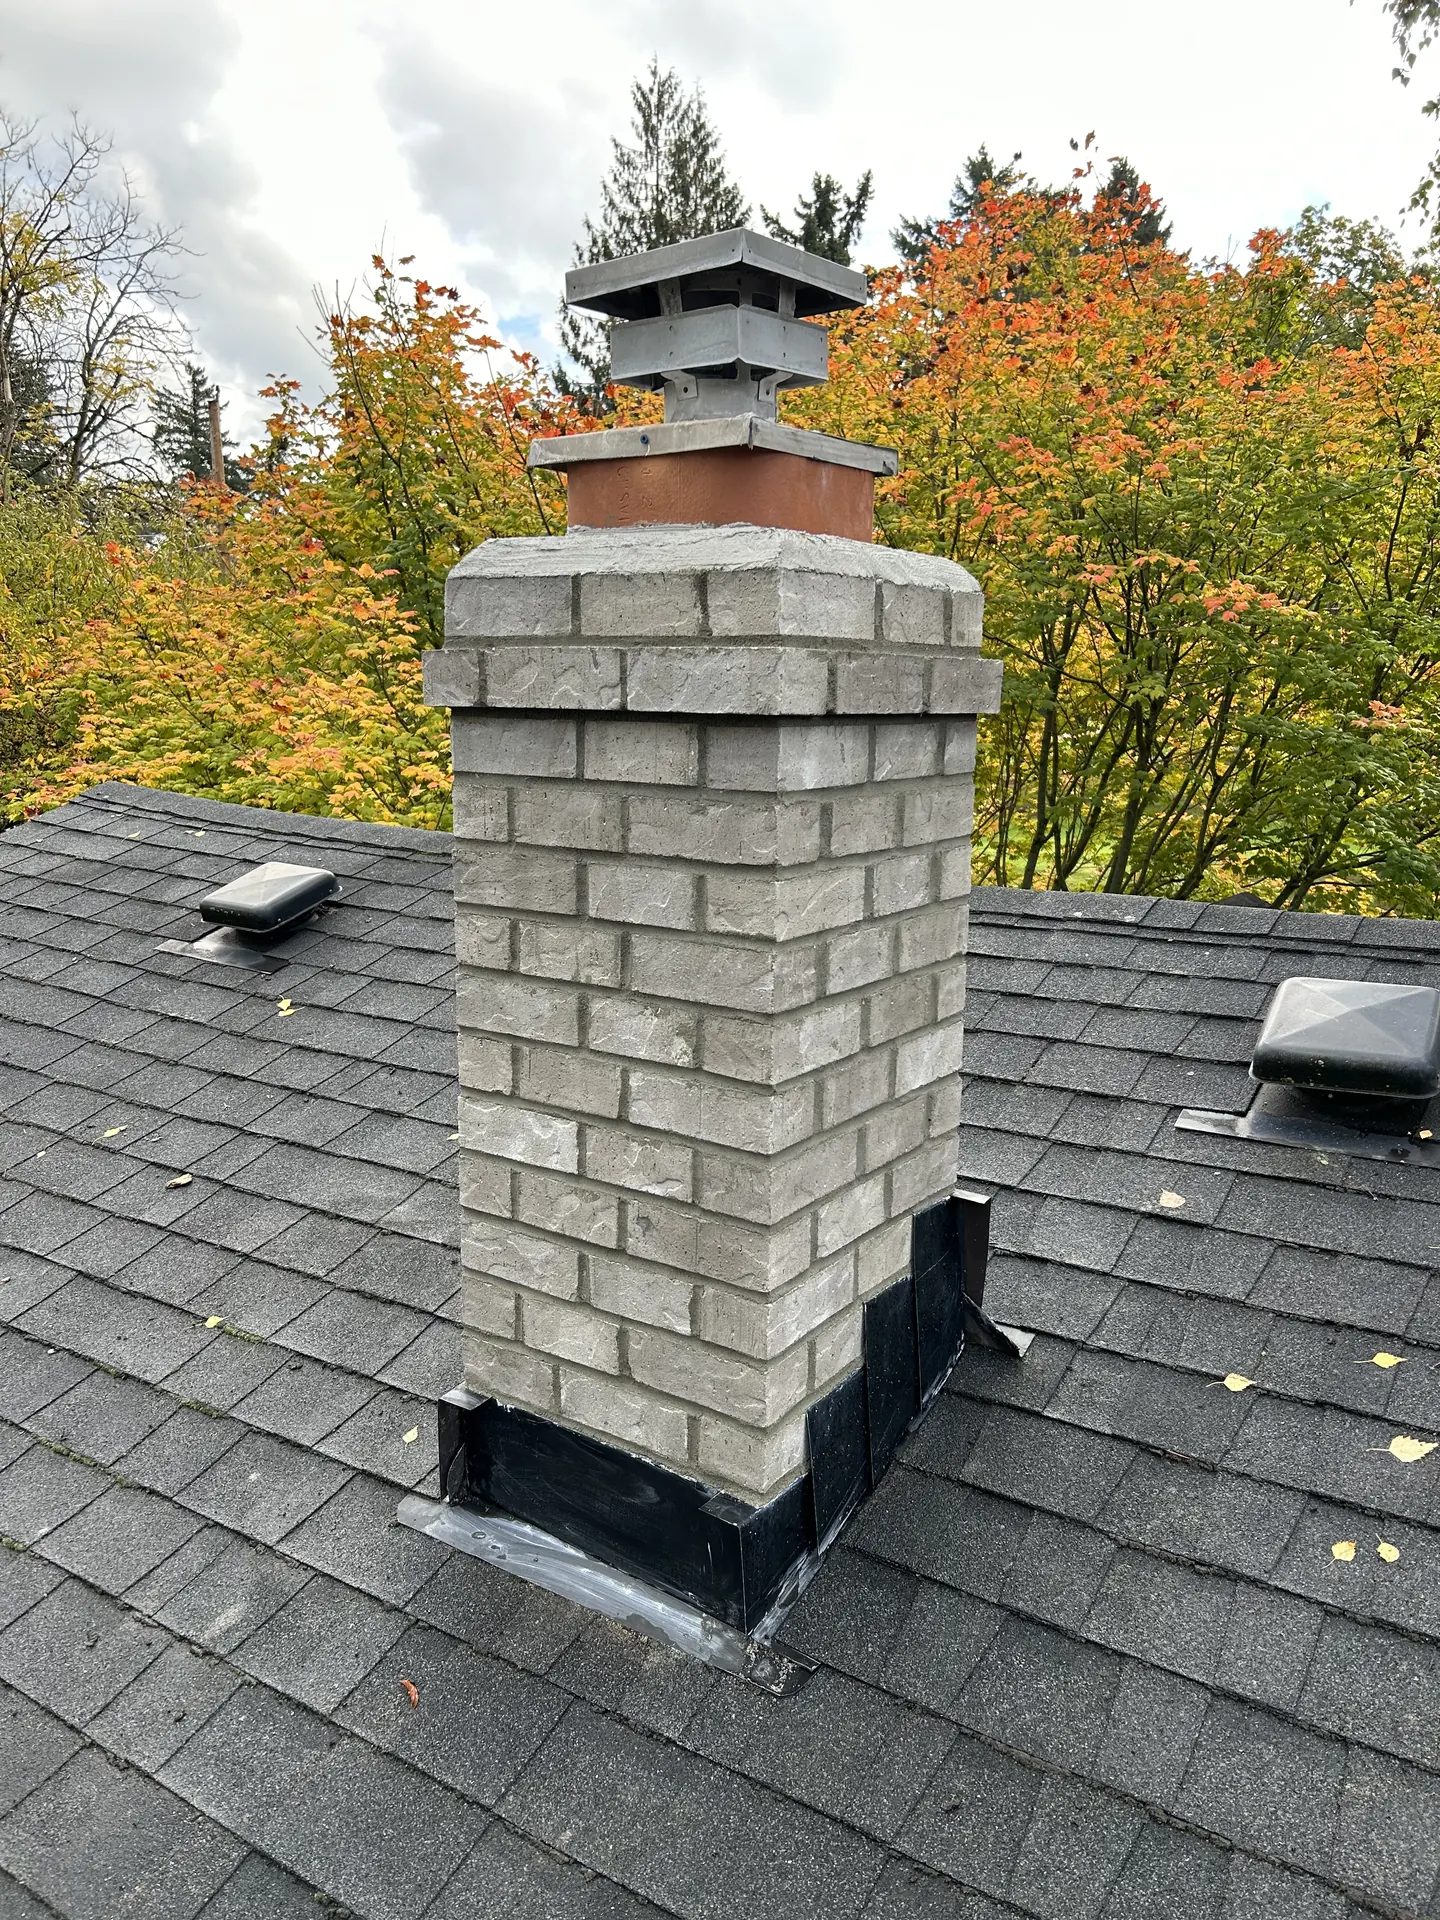
Harbor Mist rebuild, finished
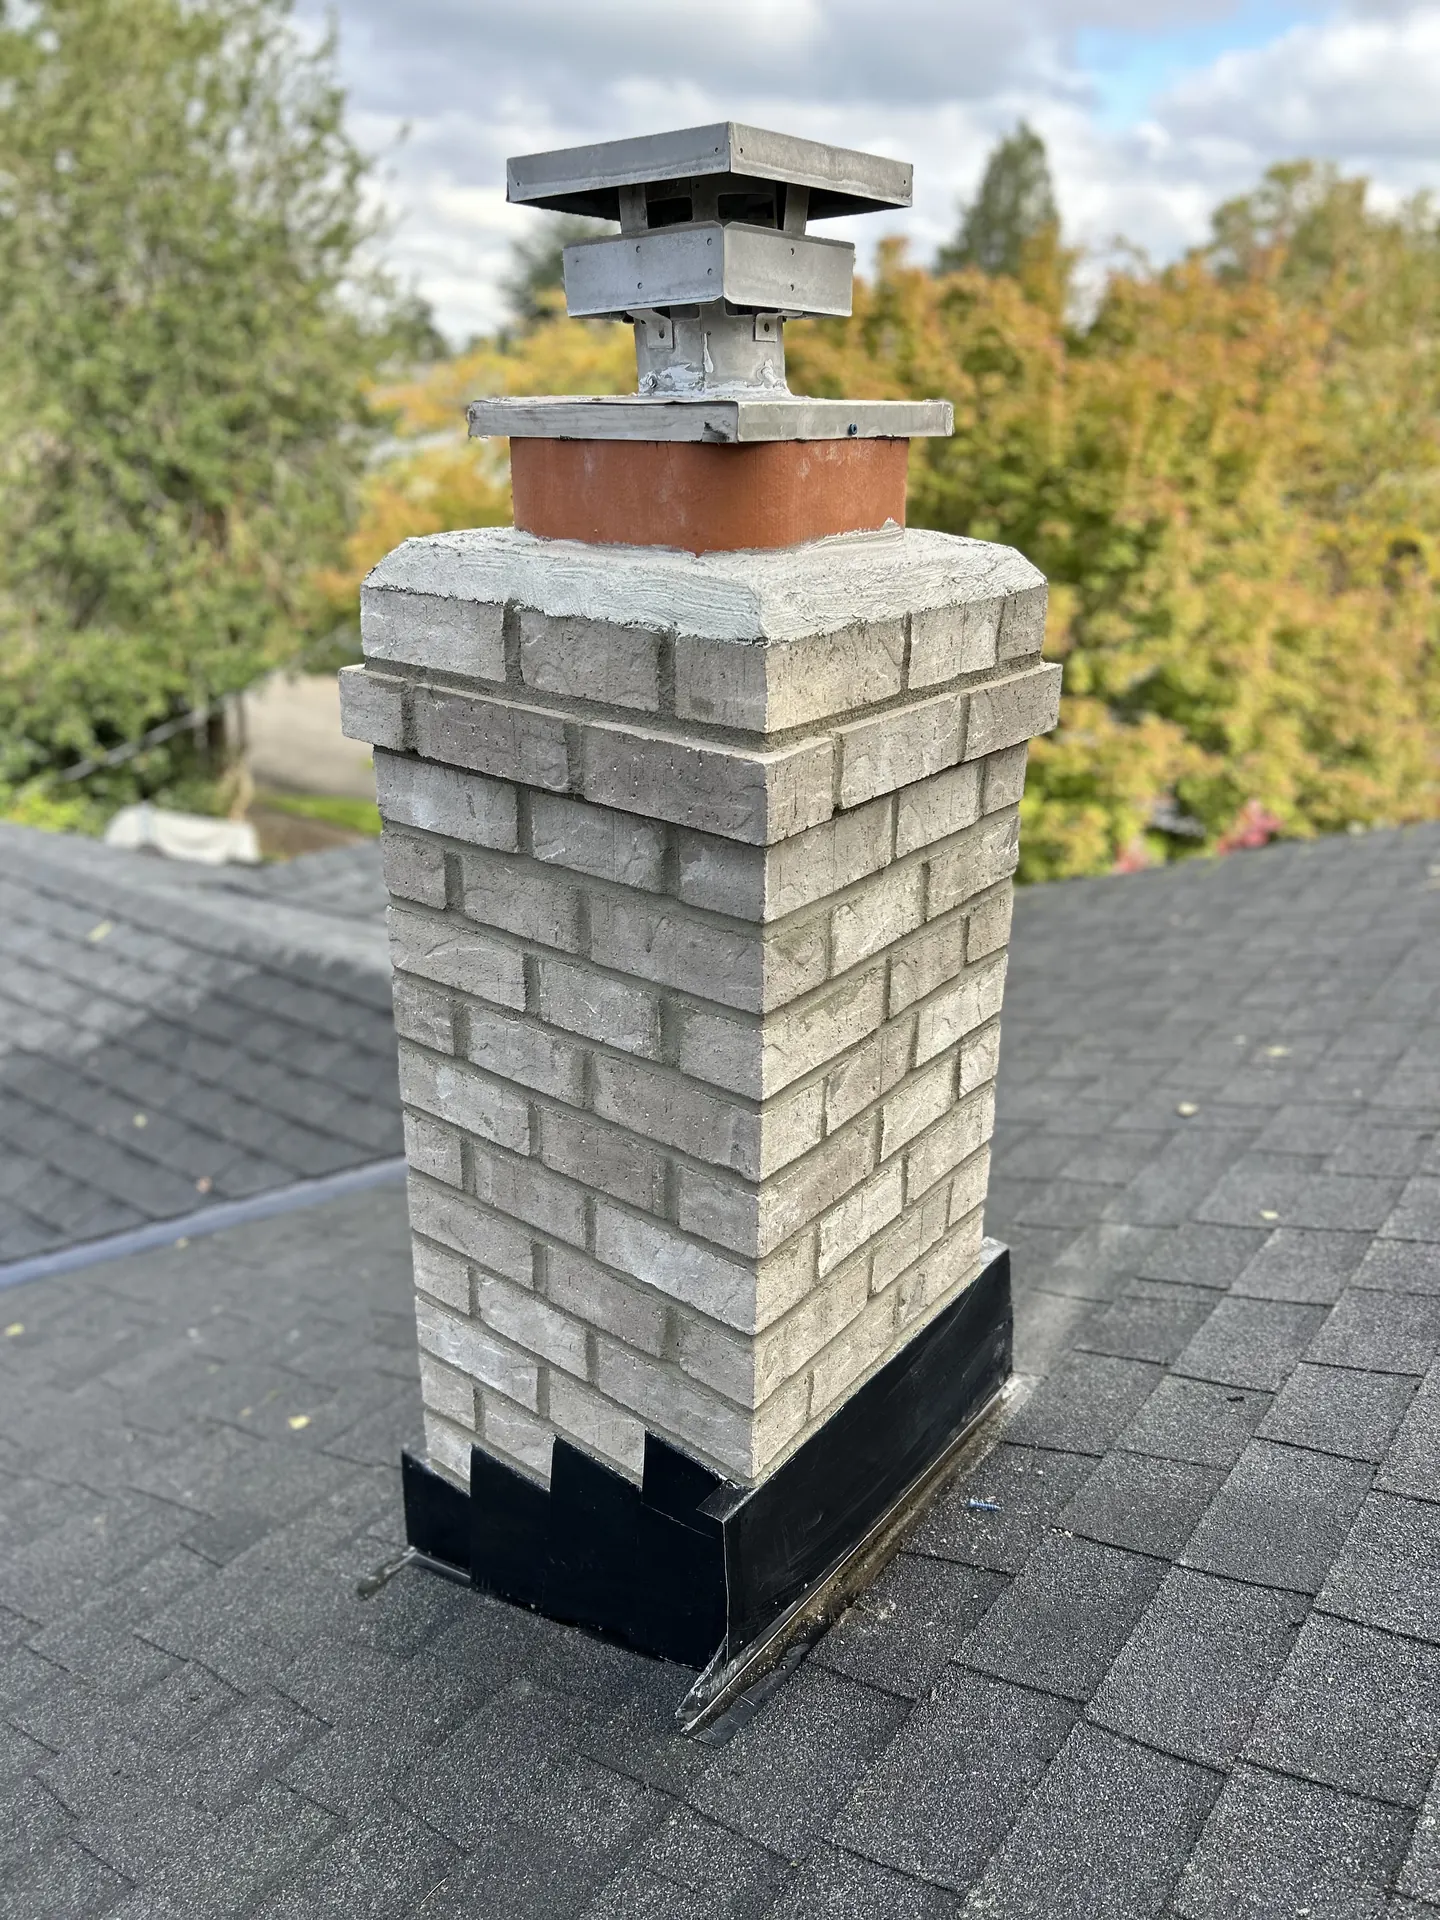
Rebuild detail
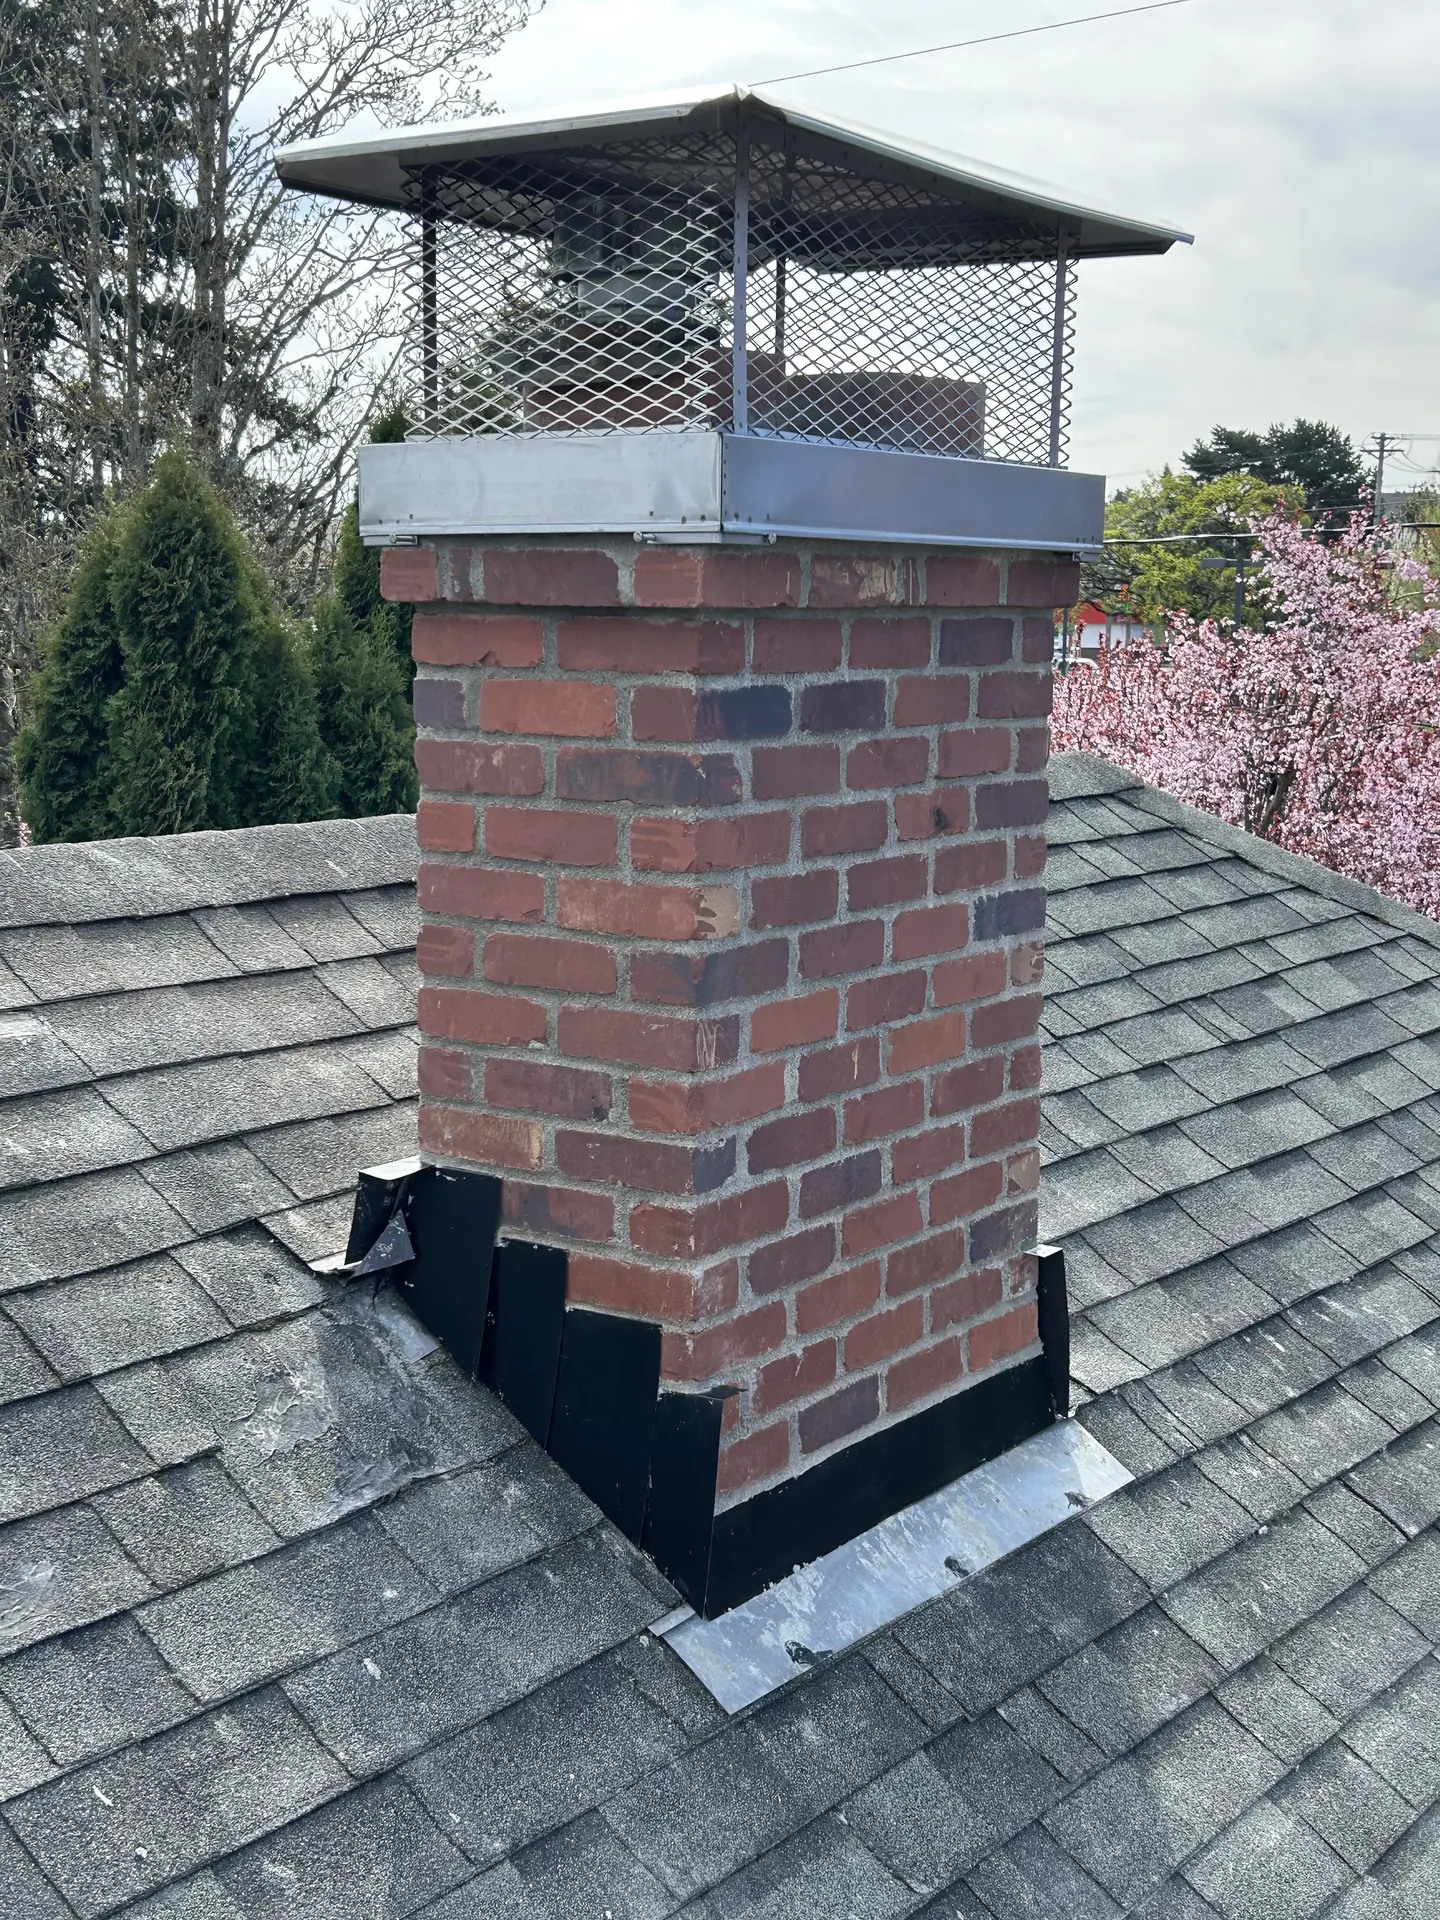
Custom powder-coated cap
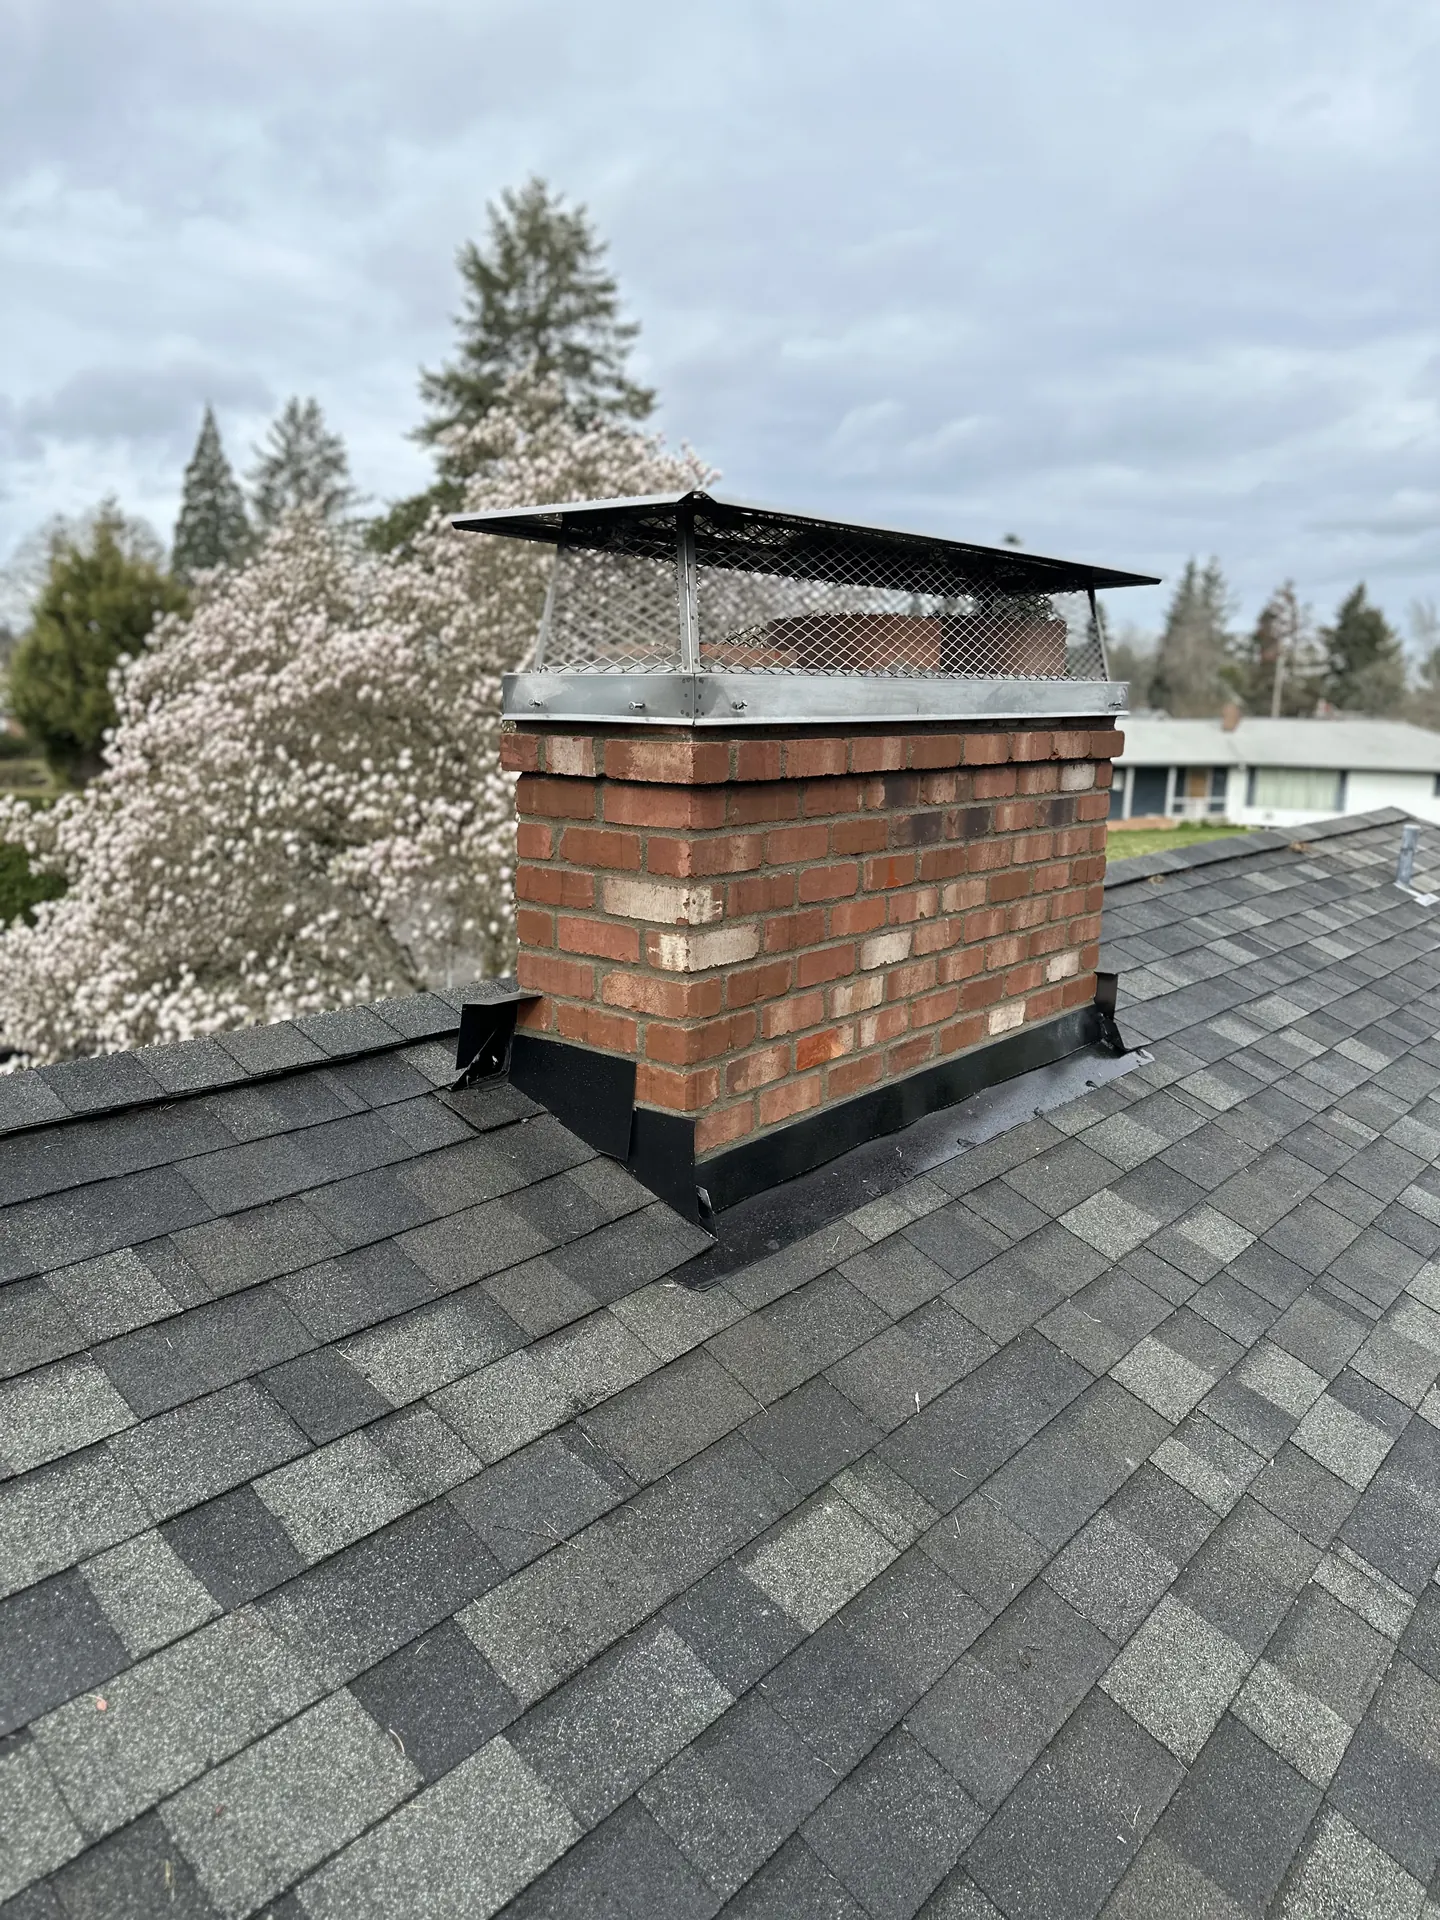
Multi-flue custom cap
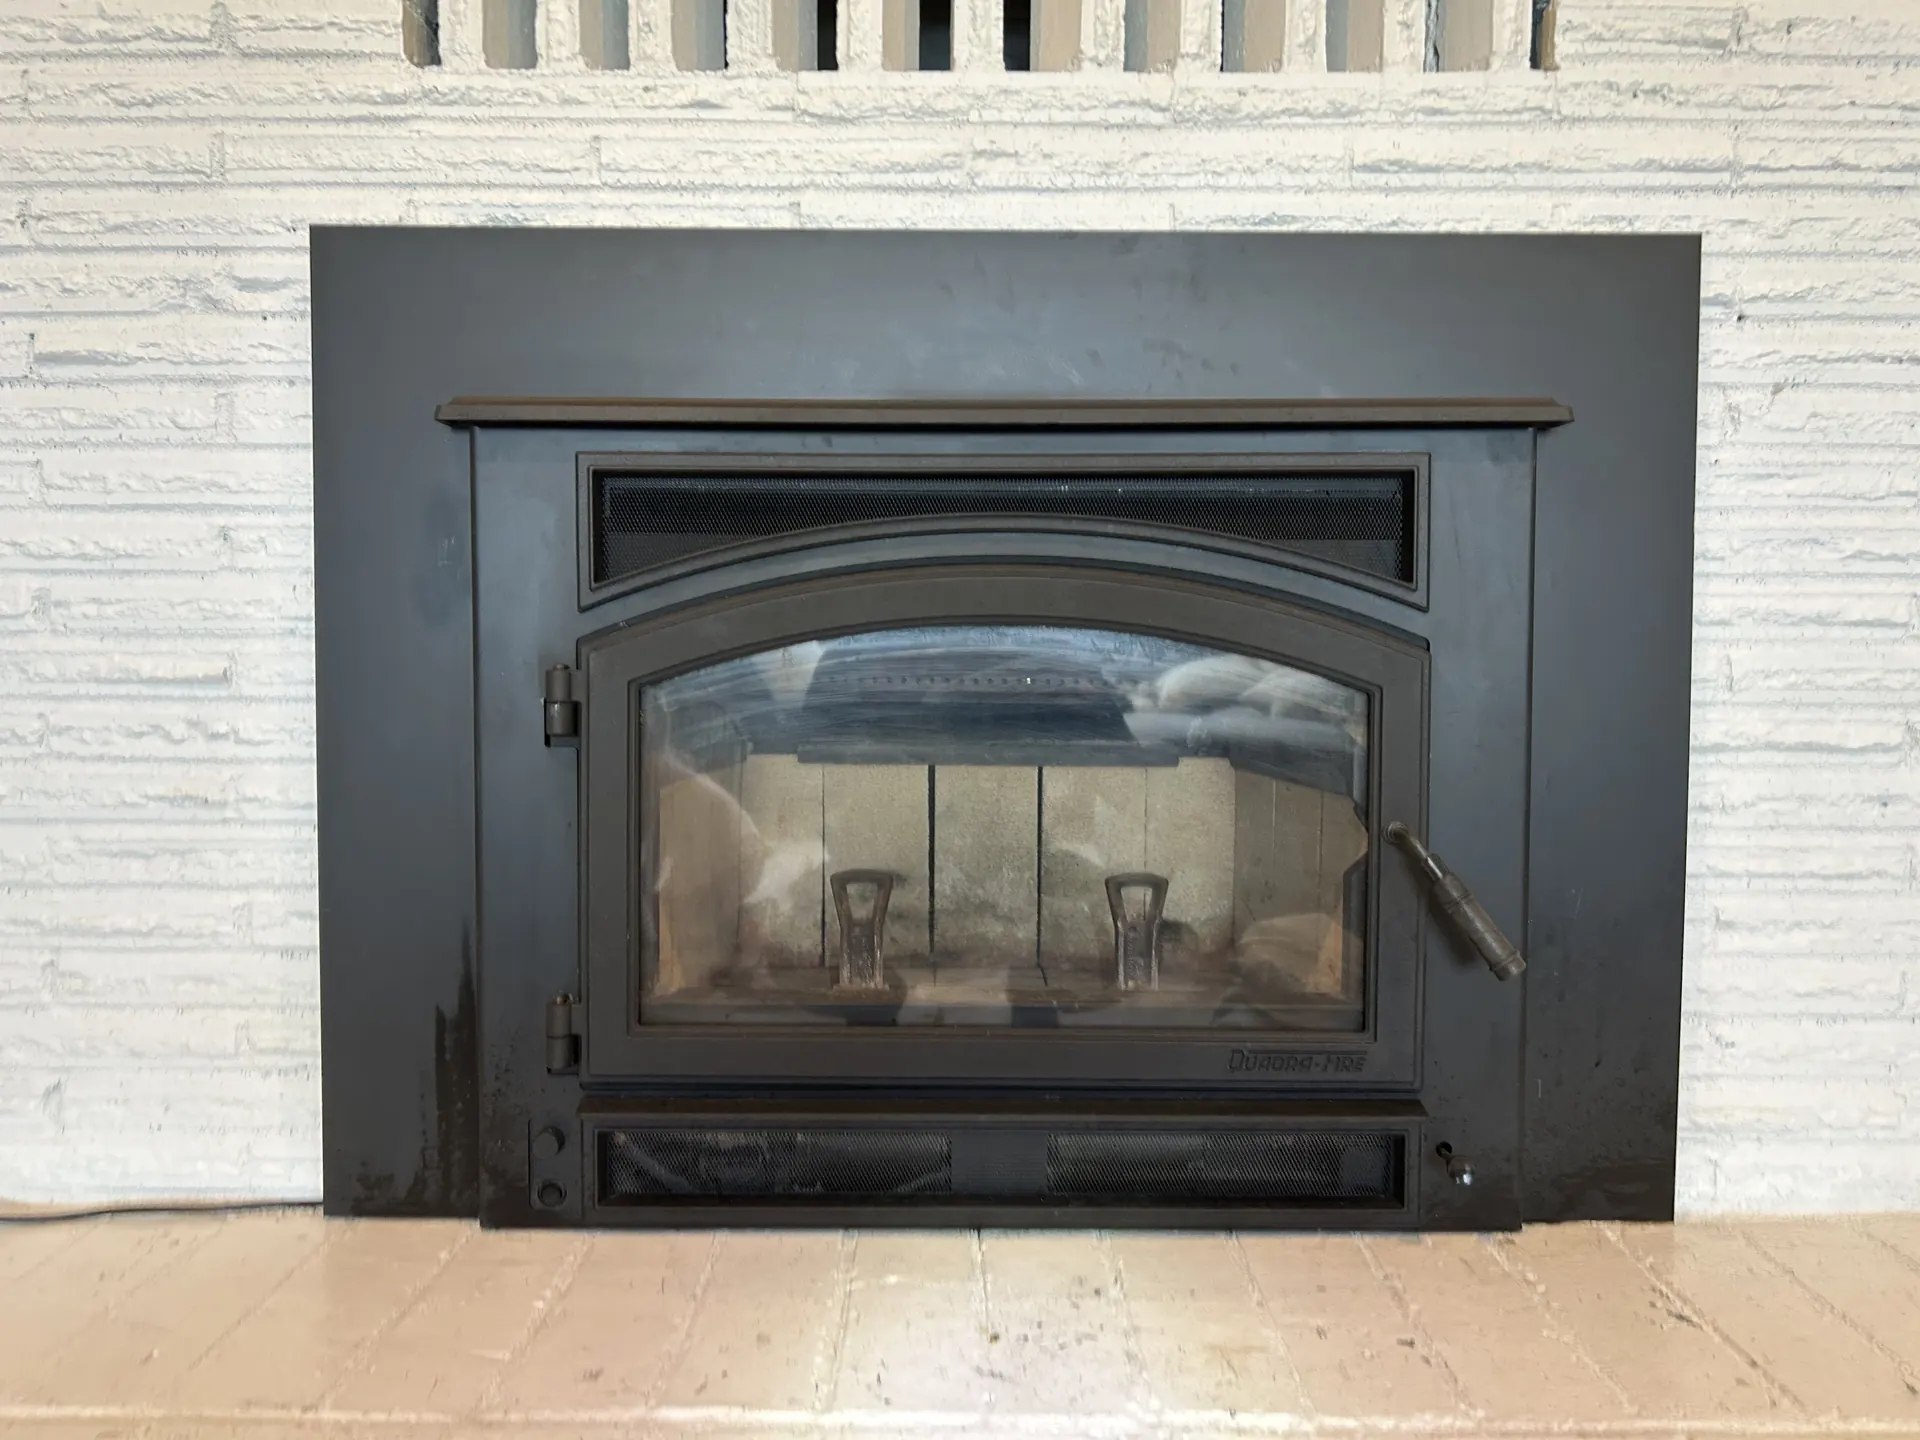
Wood stove insert install
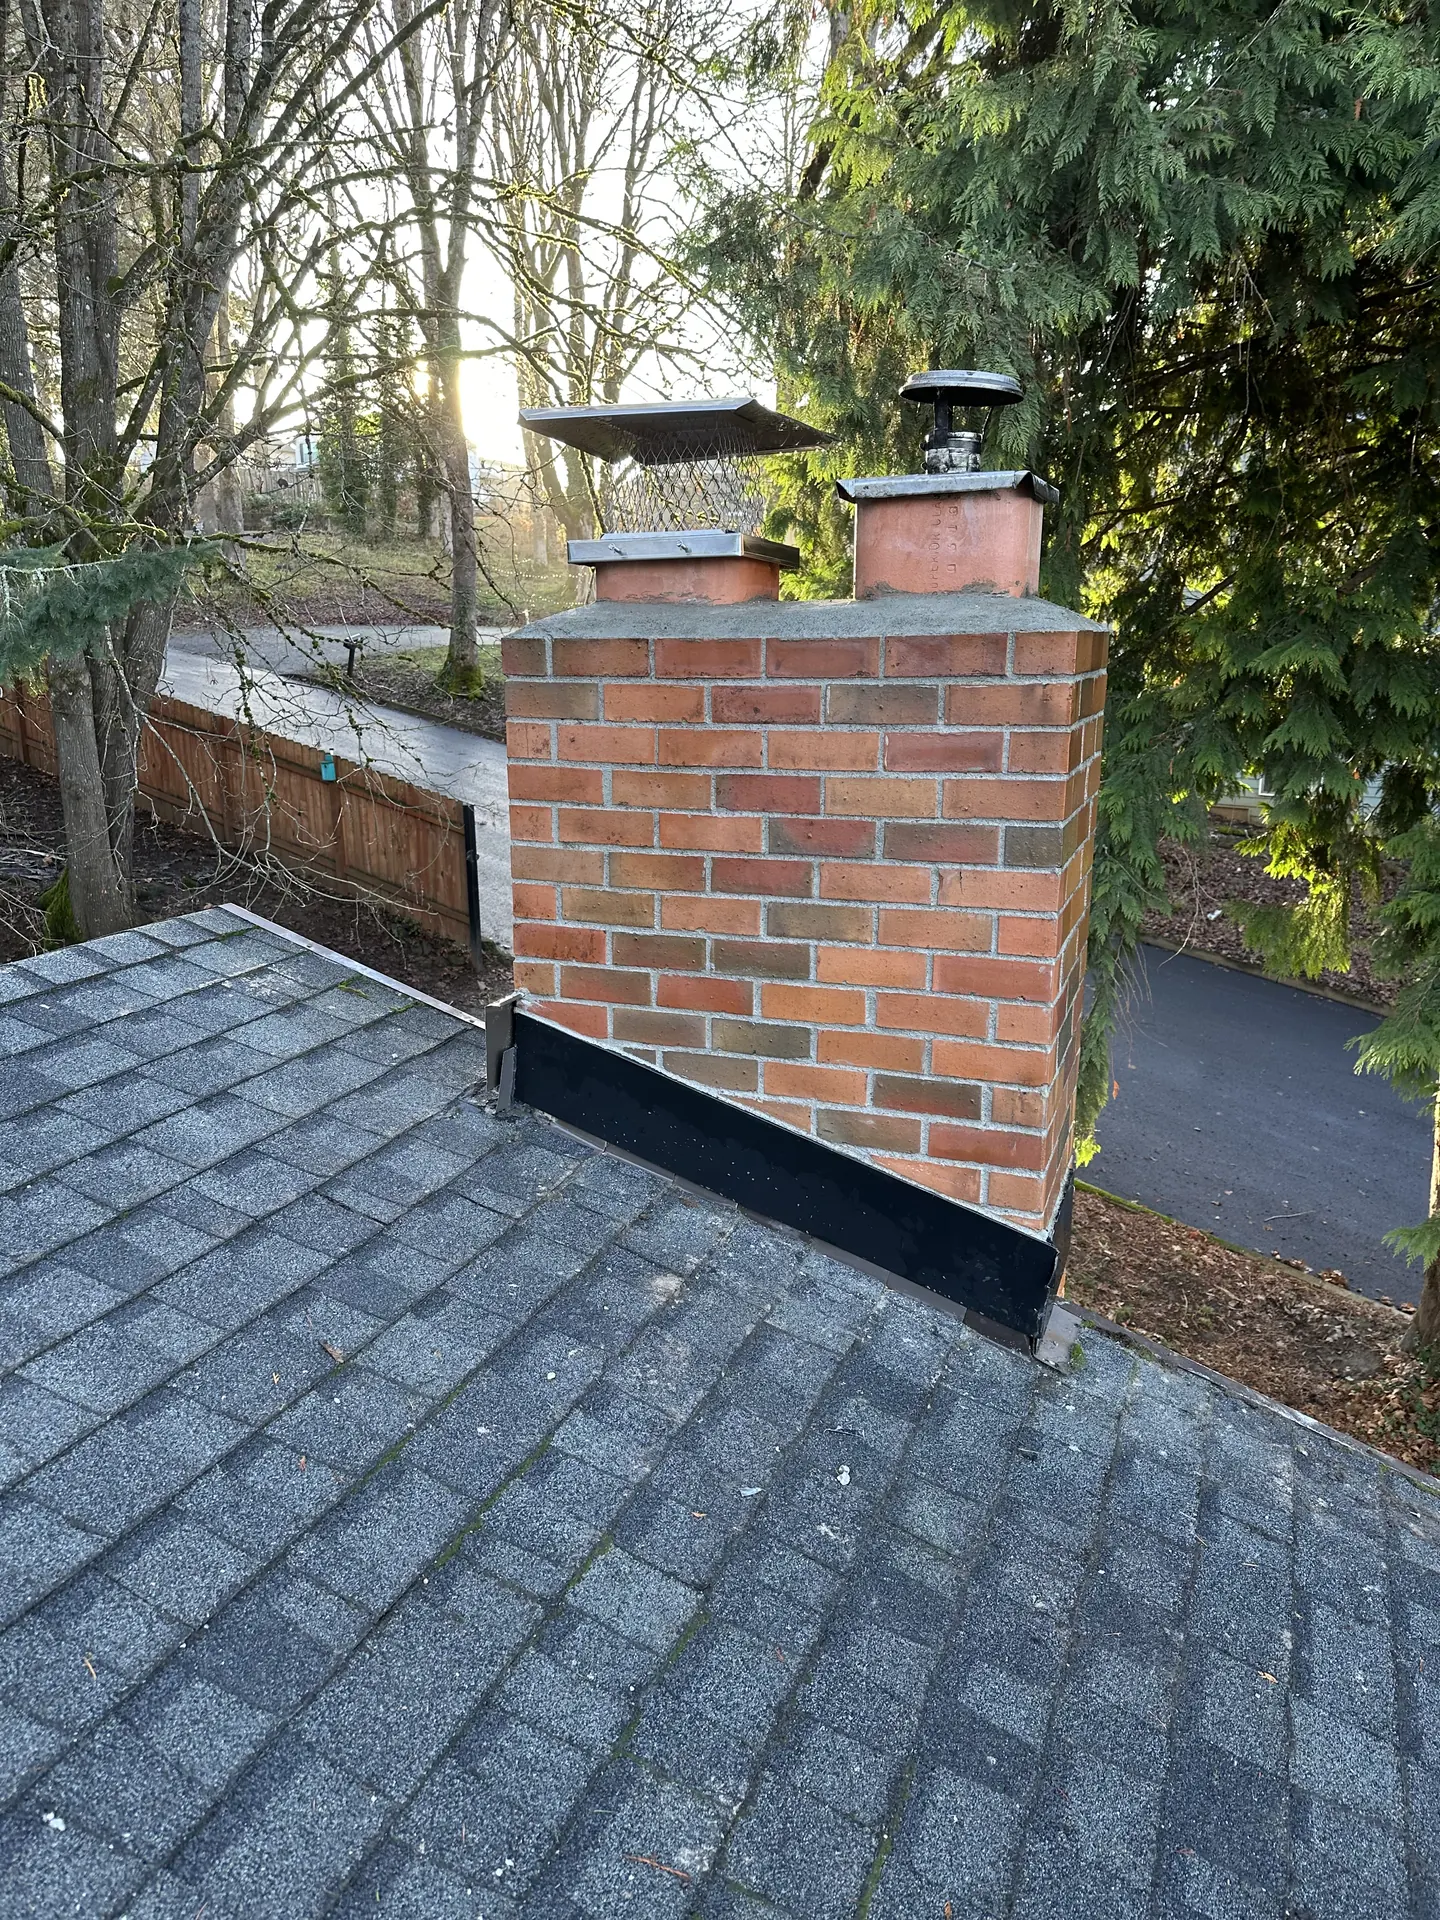
Fresh counterflashing
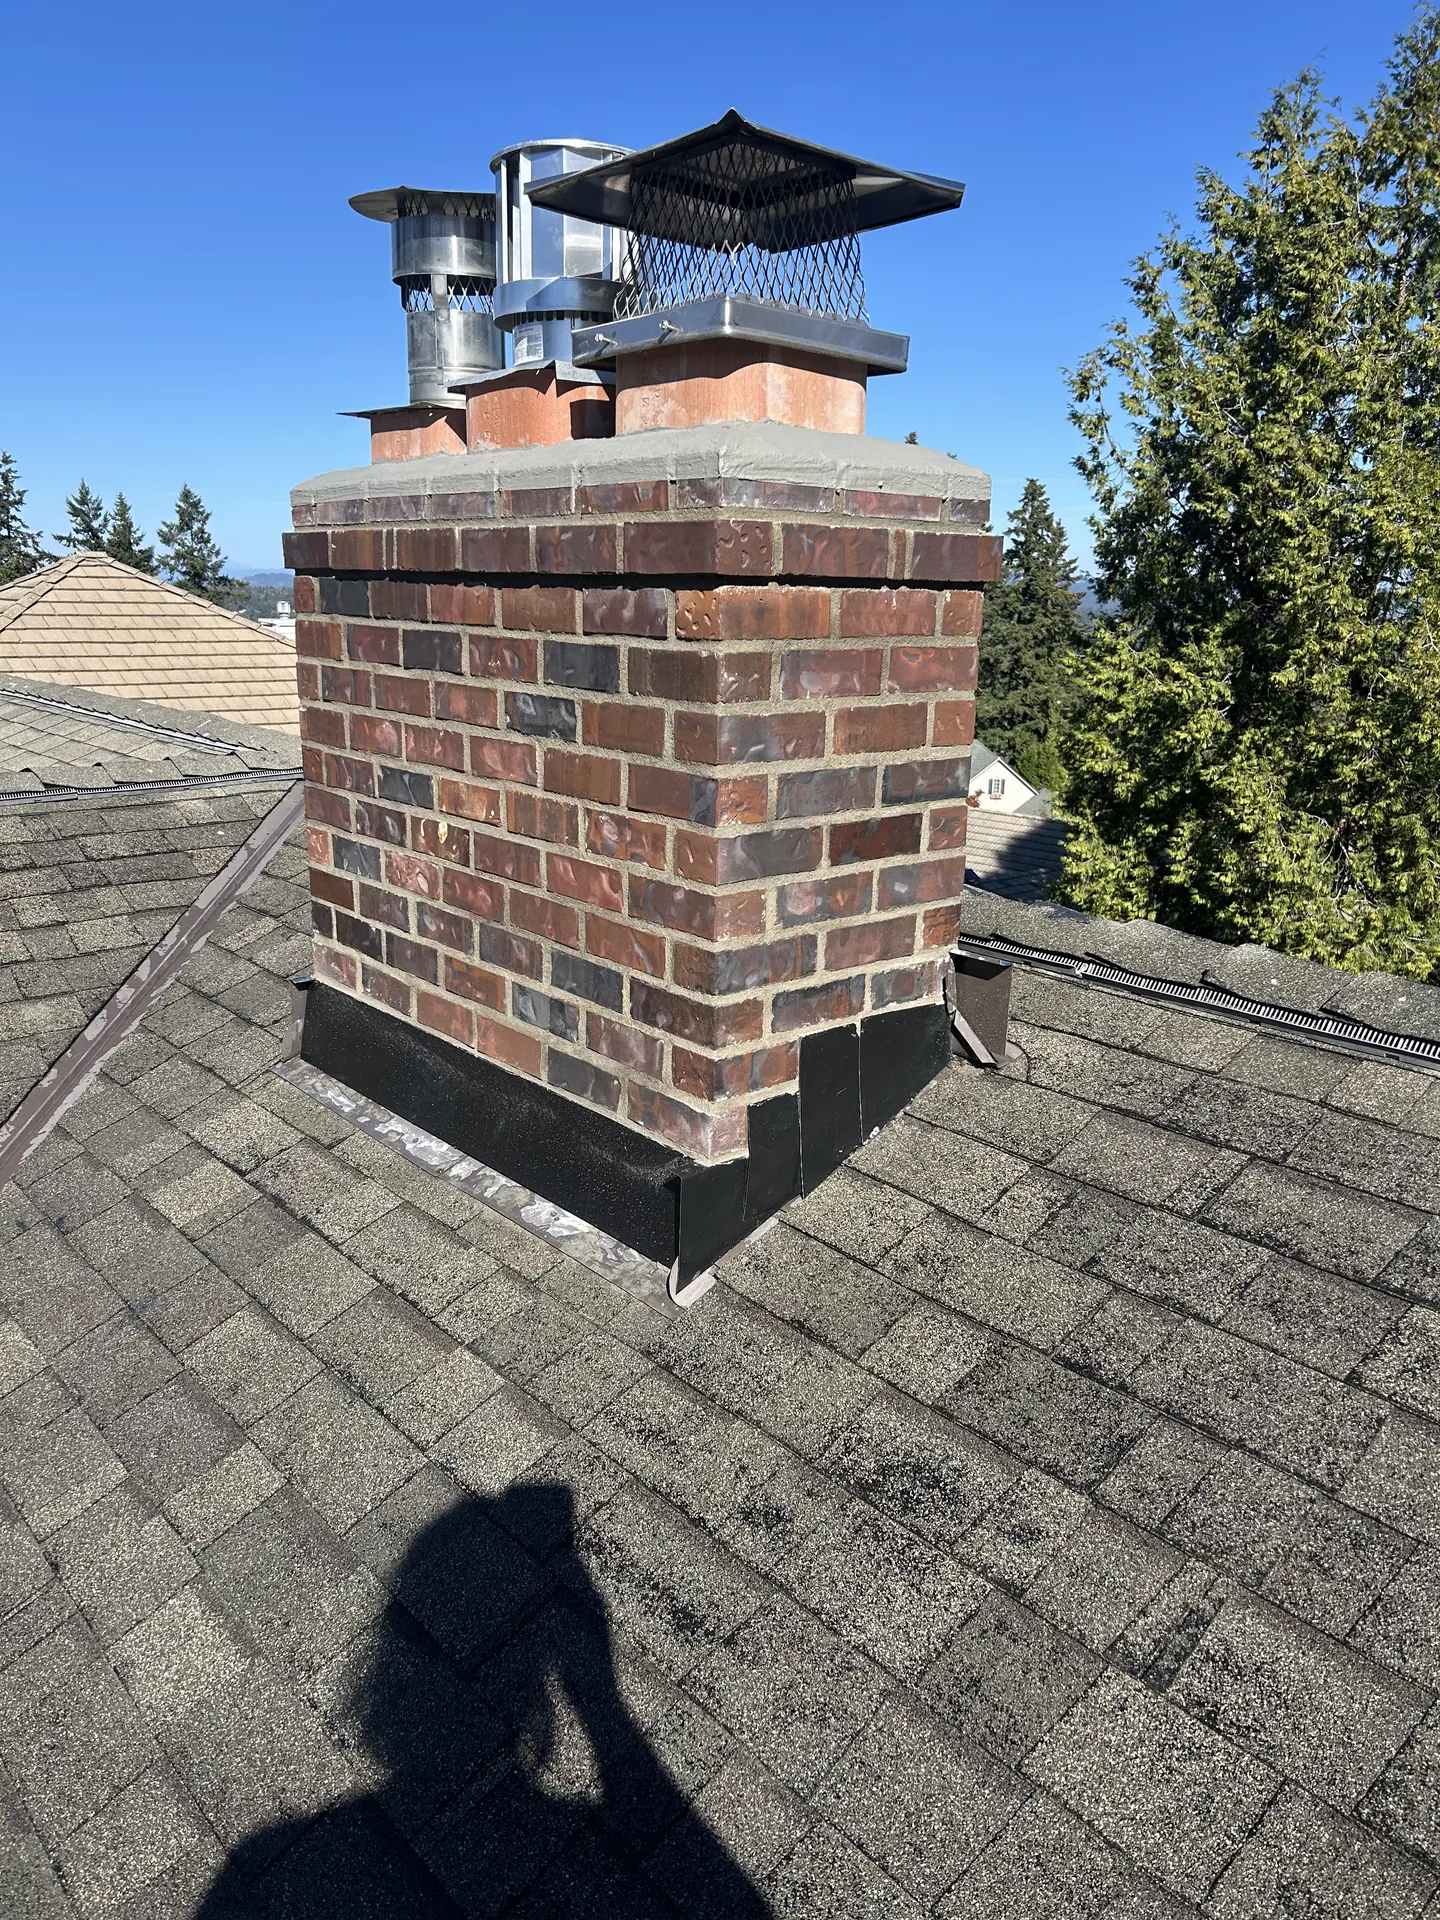
Venting and factory caps